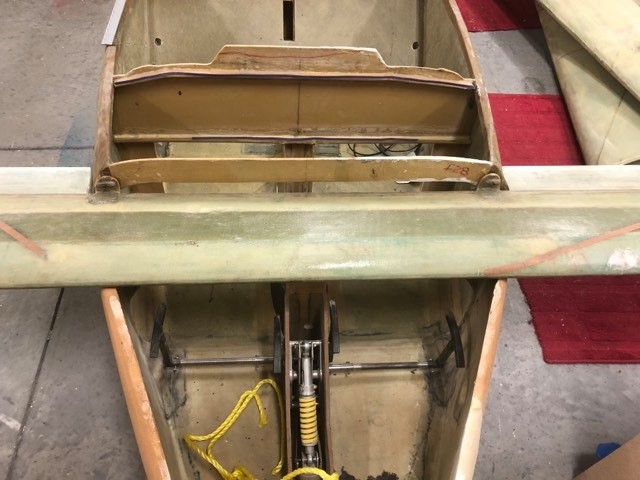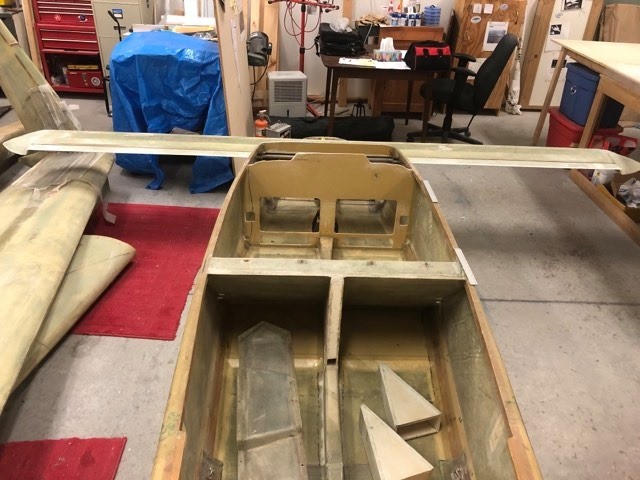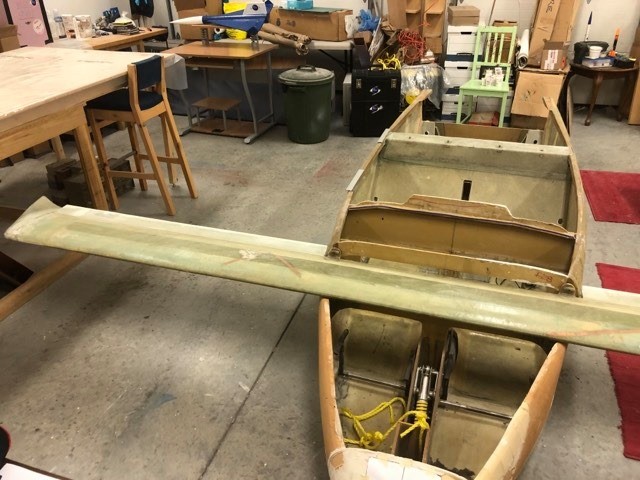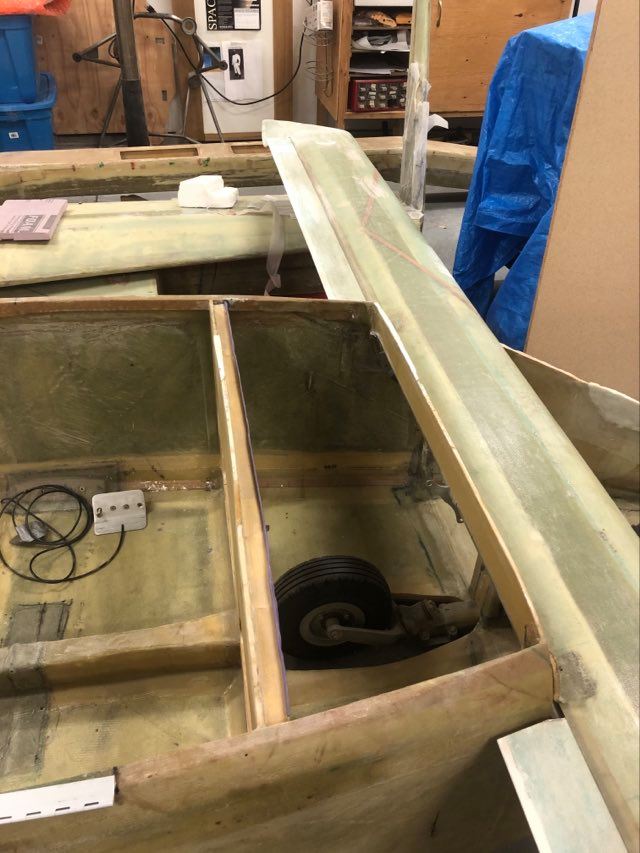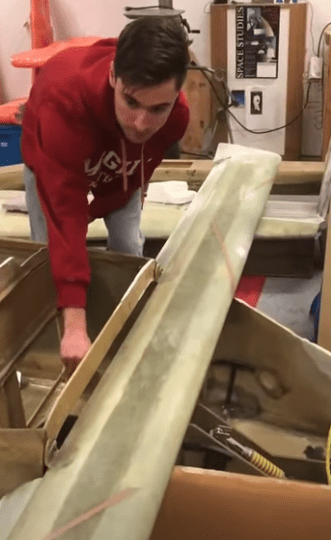
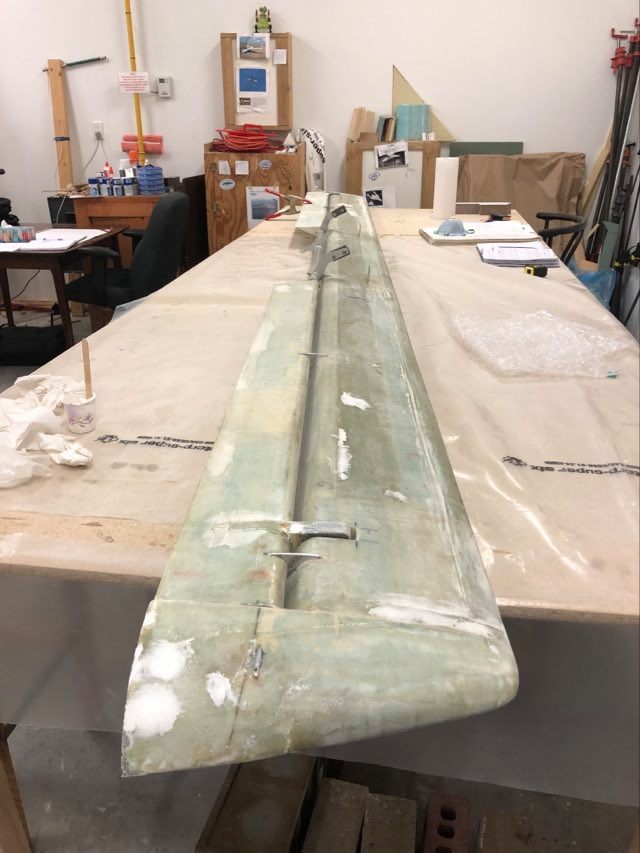
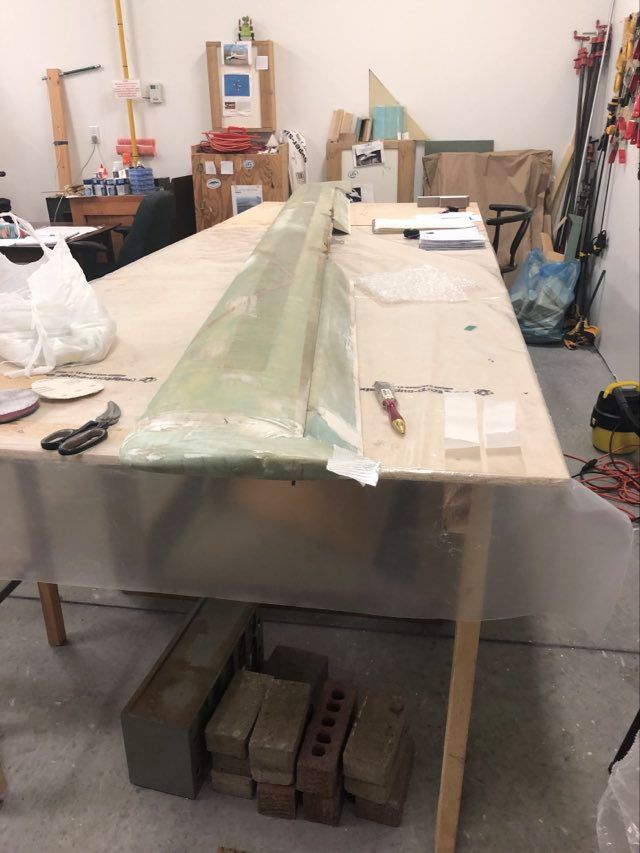
Here is a video of the canard fit and functional test.
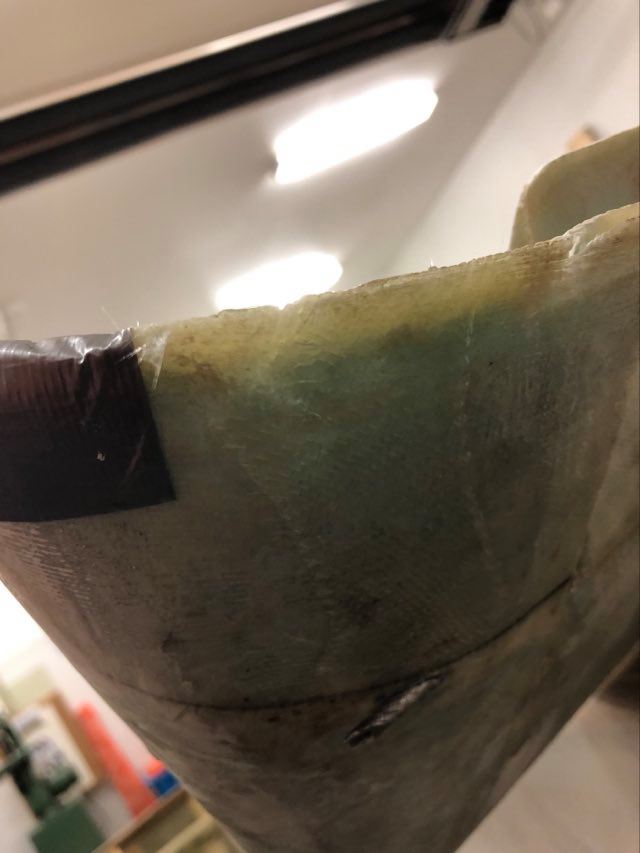
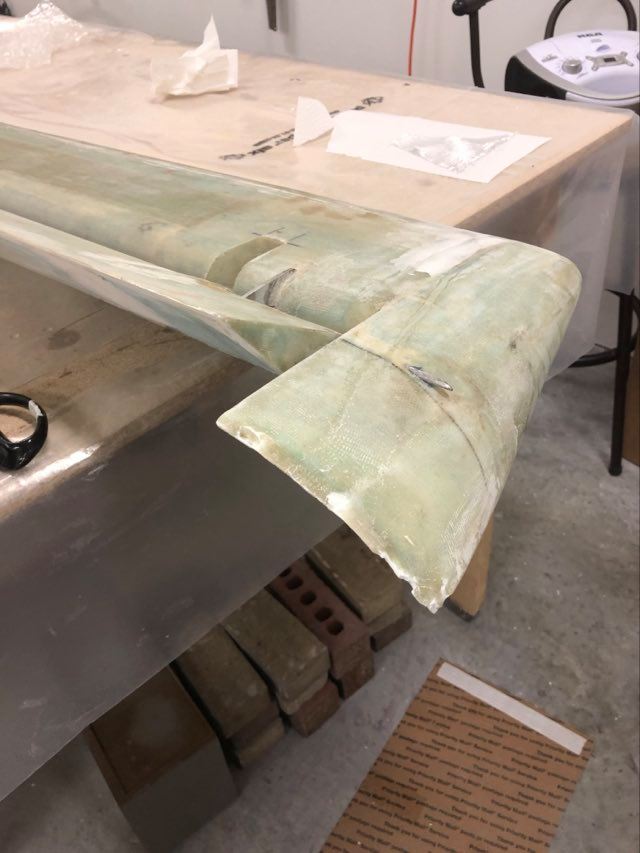
During transit from Alberta to Ontario the canard wing received some minor damage to the right elevator trailing edge and the left tip fairing.
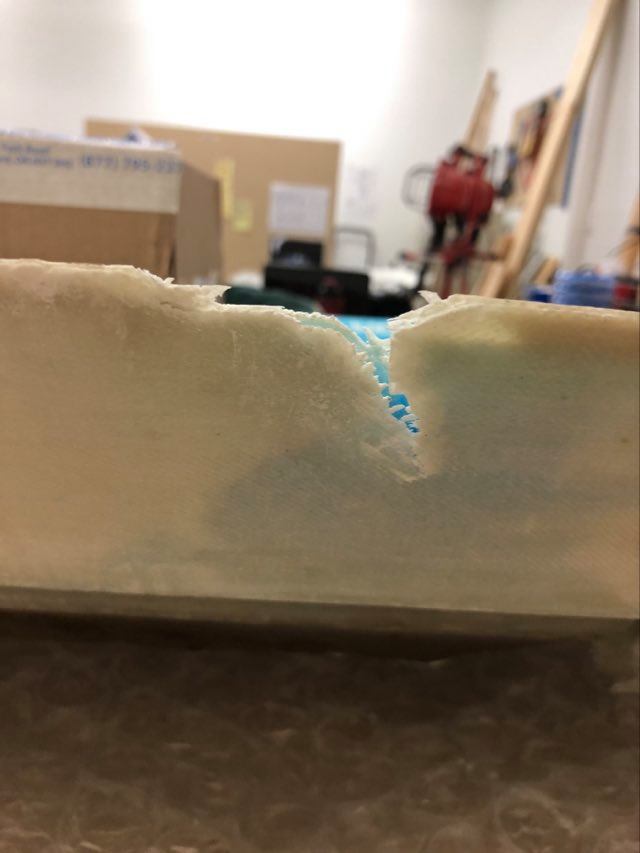
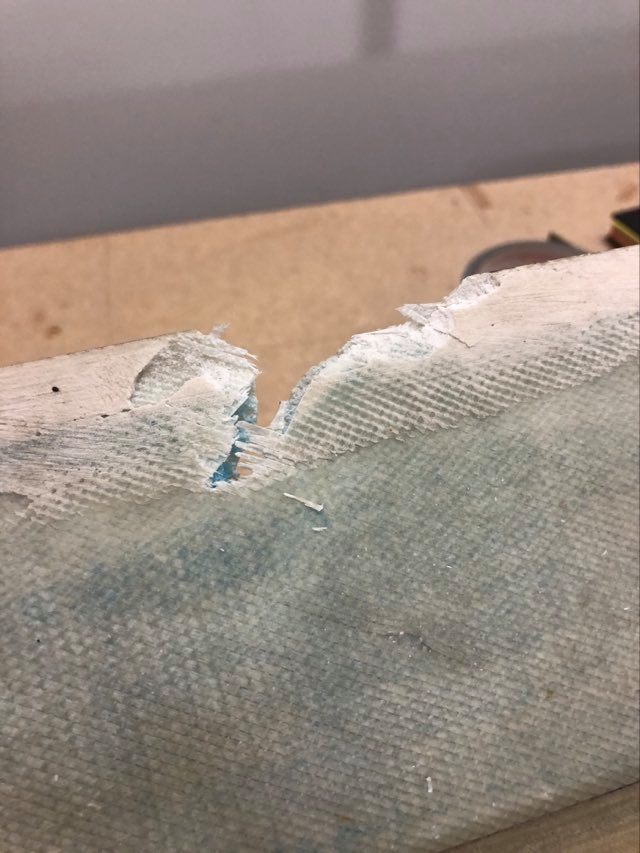
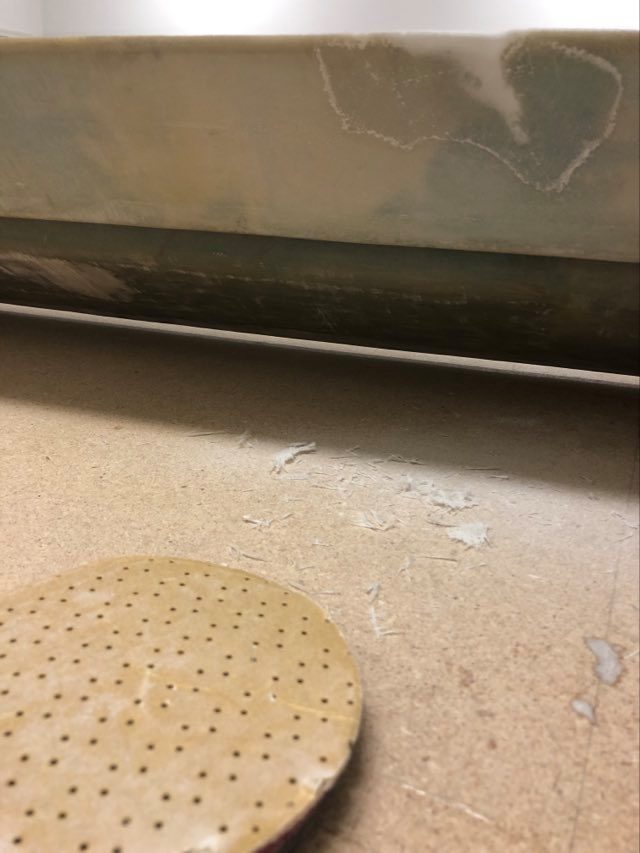
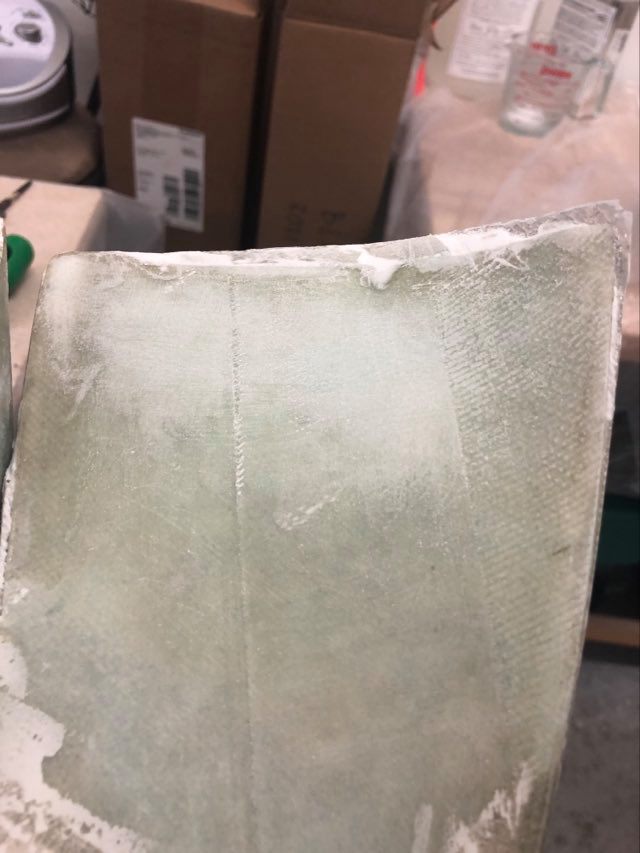
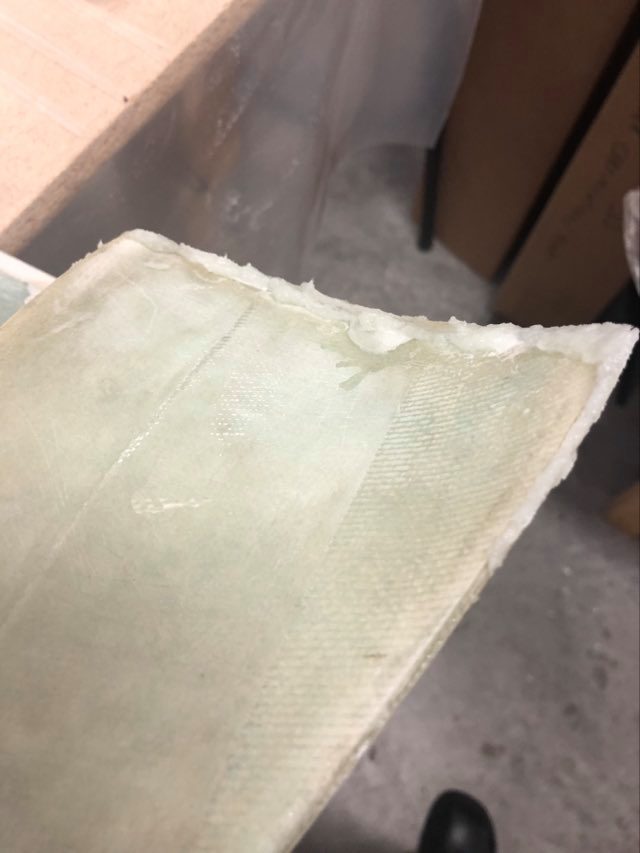
Right Elevator Trailing Edge 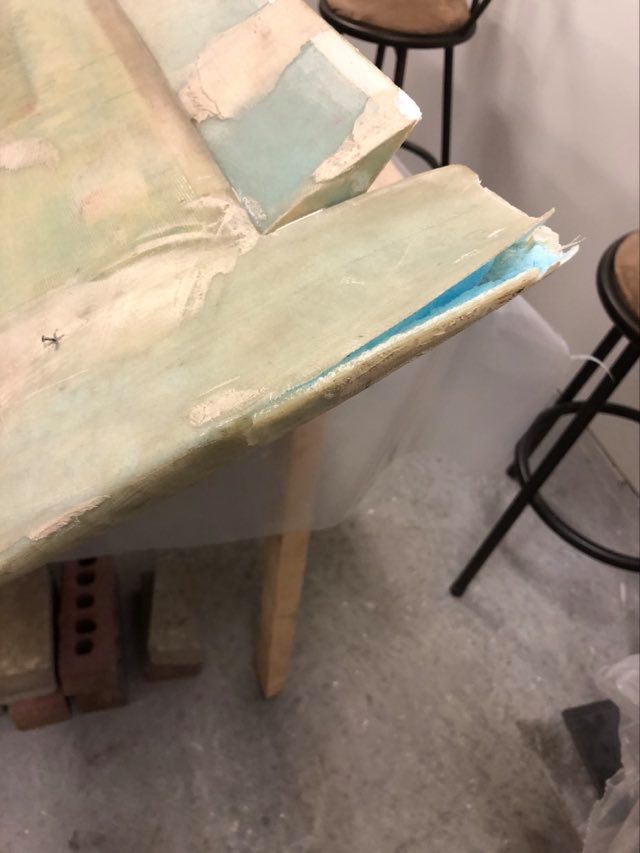
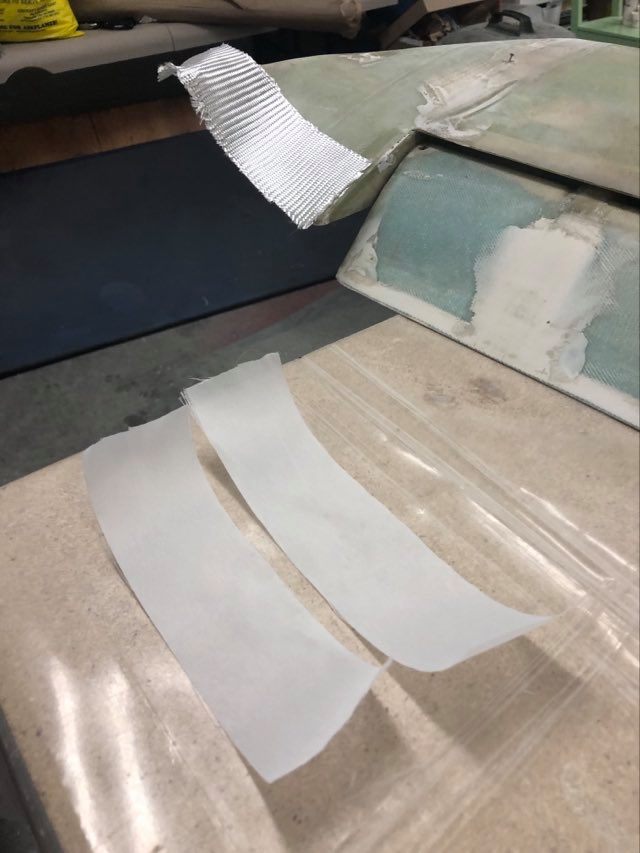
Left Fairing
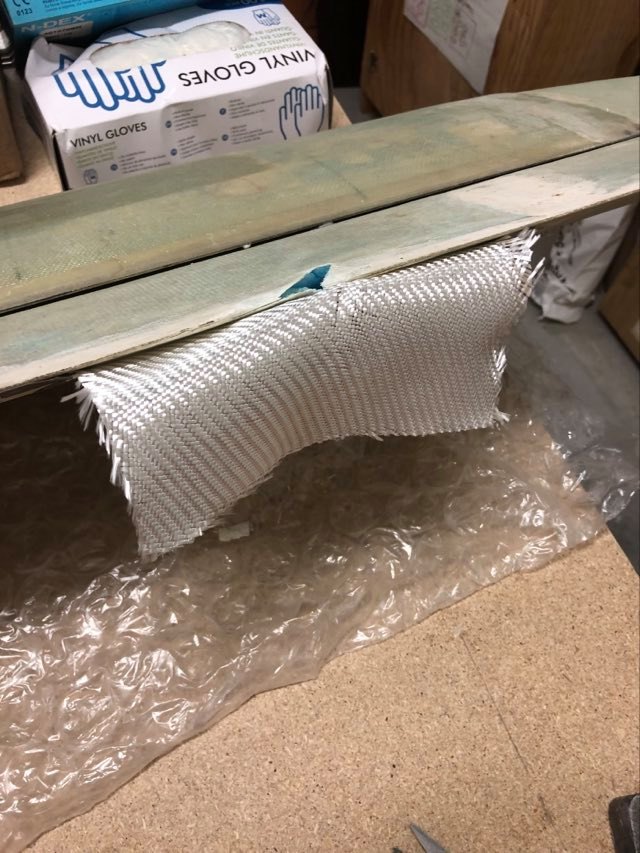
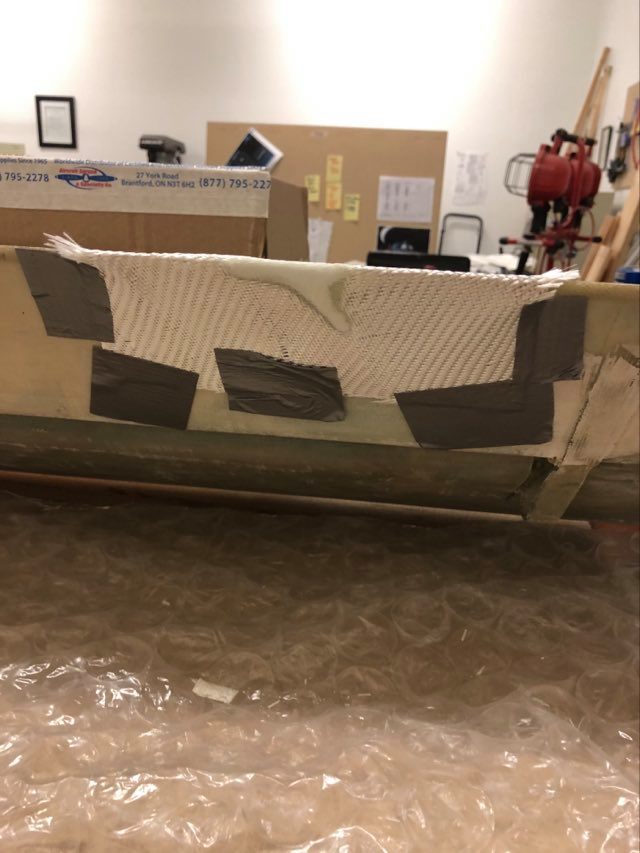
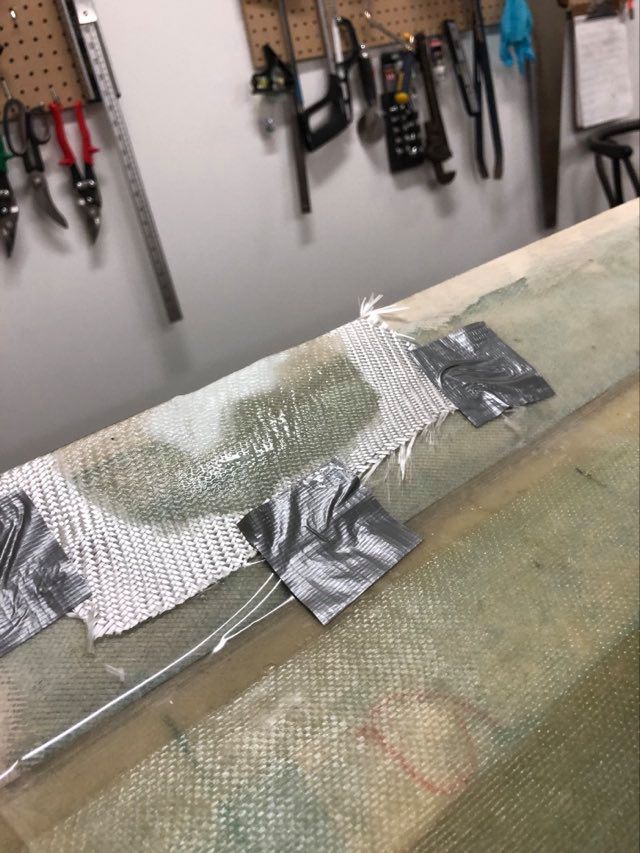
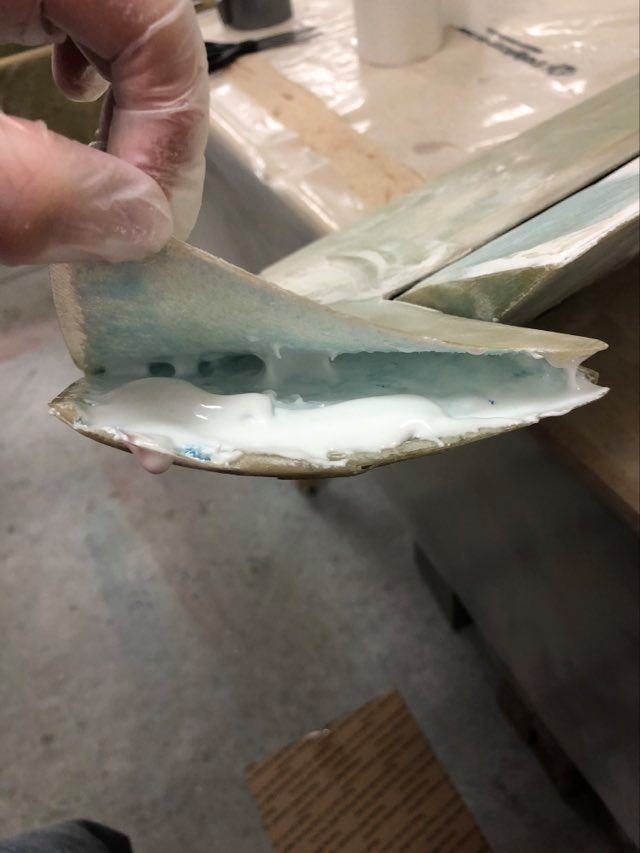
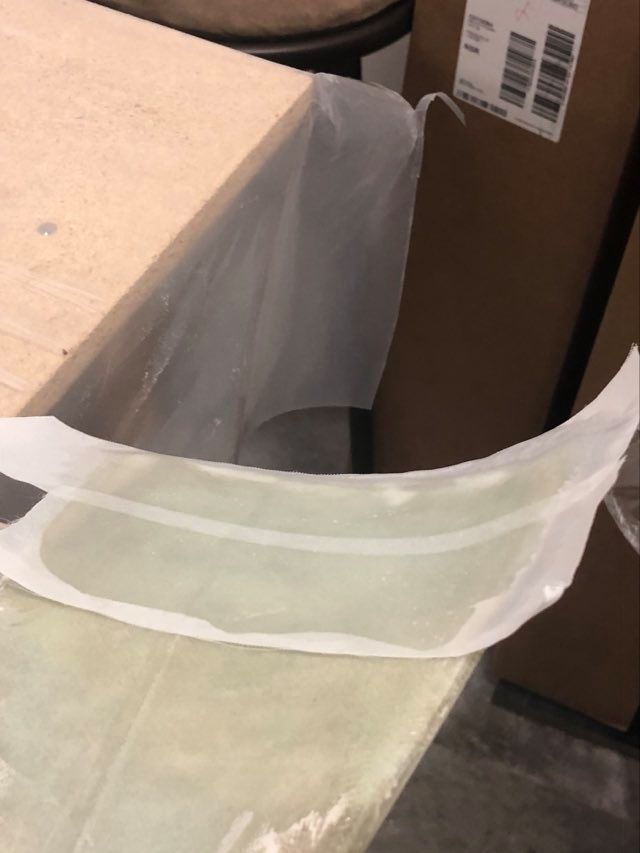
Loose and damaged pieces were cut away from the right elevator trailing edge where the damage occurred. 1-ply BID cloth was cut to size and taped tightly to the bottom of the damaged area.
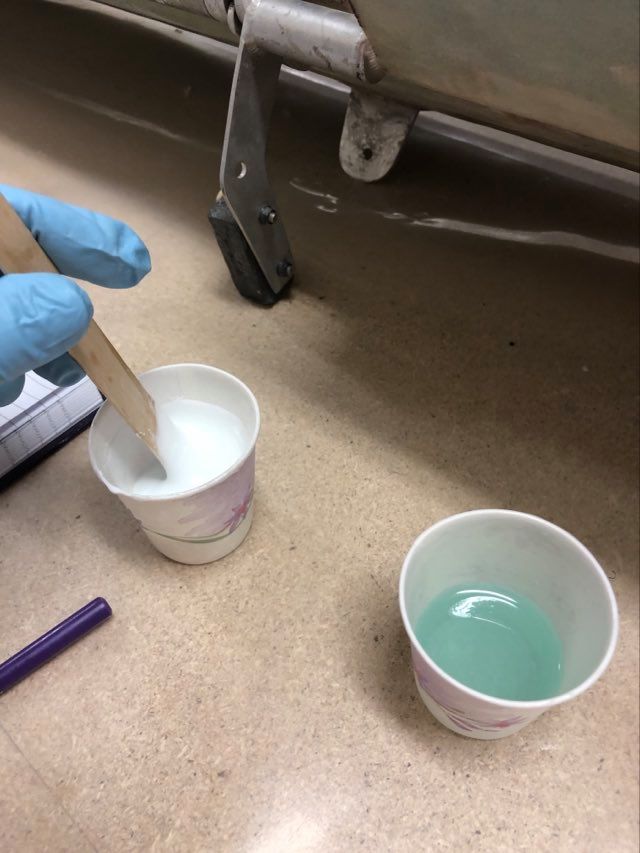
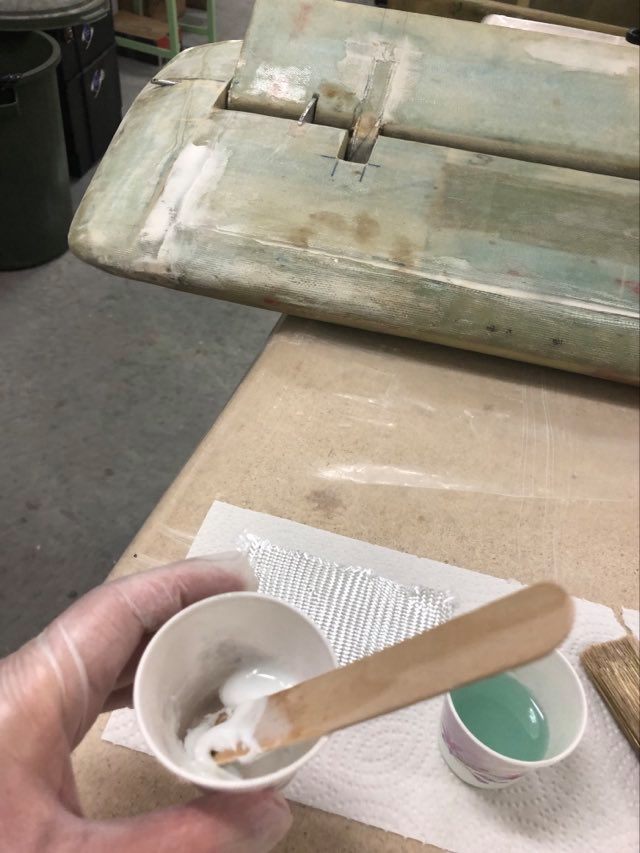
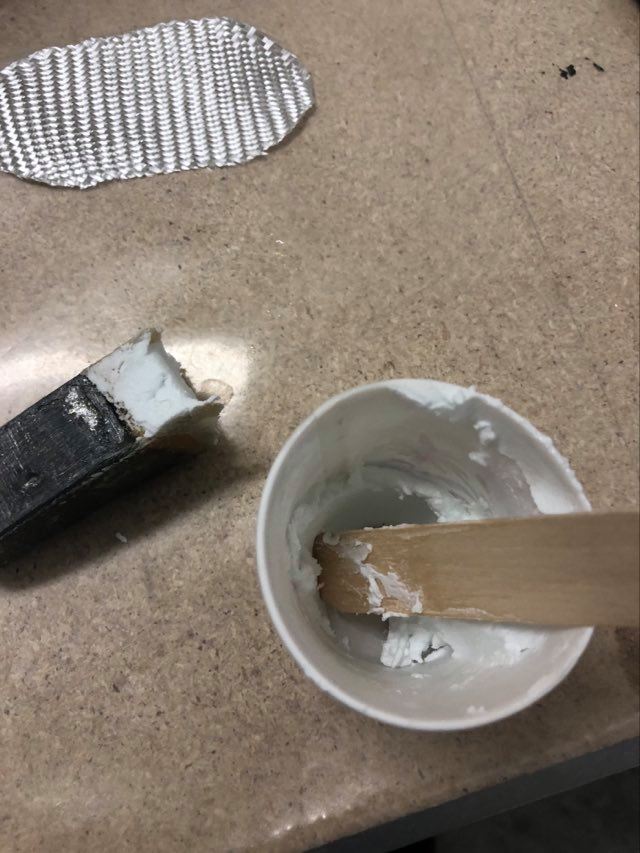
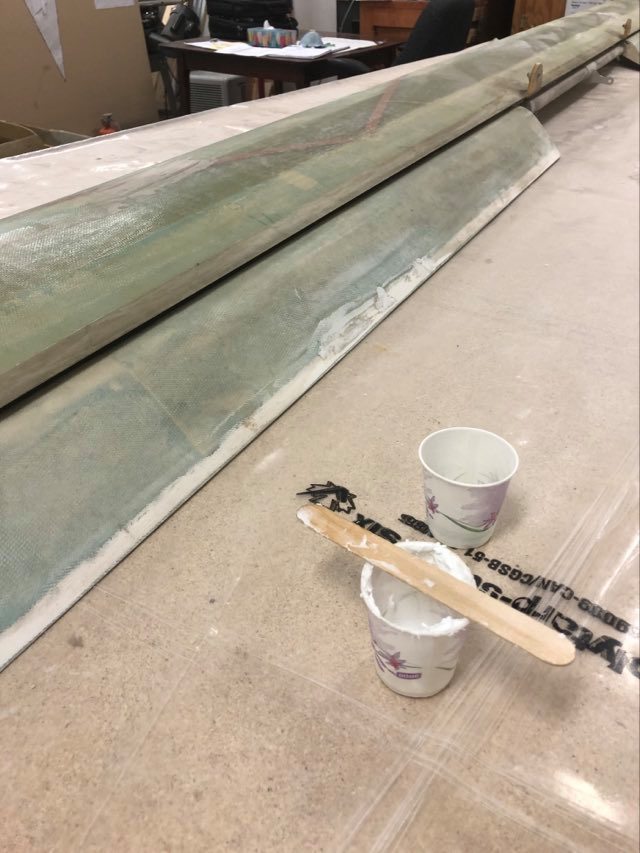
A mixture of epoxy consisting of 38g resin and 14g hardner was mixed and some of it was used to make a small batch of dry micro. Workshop temperature was 23 deg C and humidity 53%.
The damaged area was filled with dry micro and the BID cloth was then tightly taped to the top surface. The cloth was wet out with epoxy about 1″ back from the damaged area on all sides.

A number of low areas was noticed along the trailing edge of both elevators and so dry micro was added to fill any low areas.
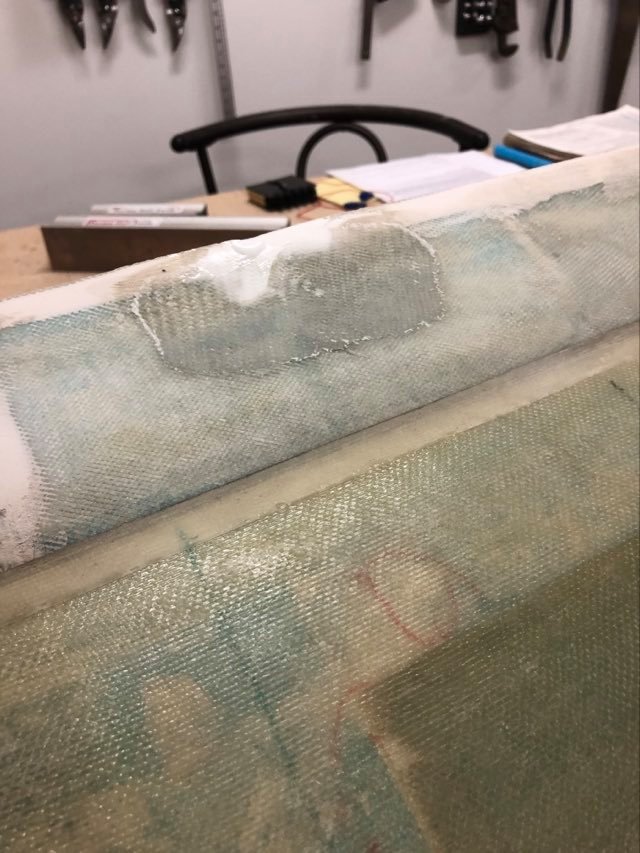
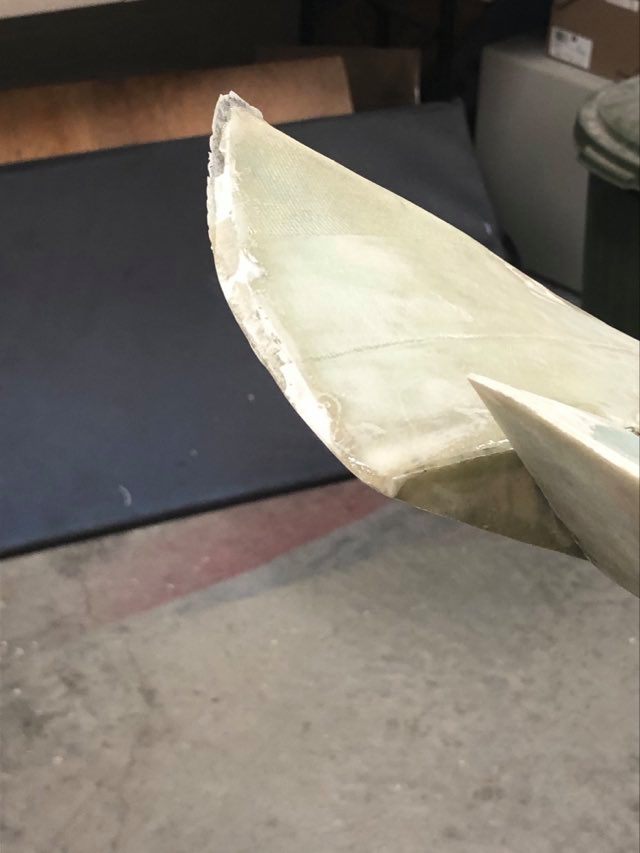
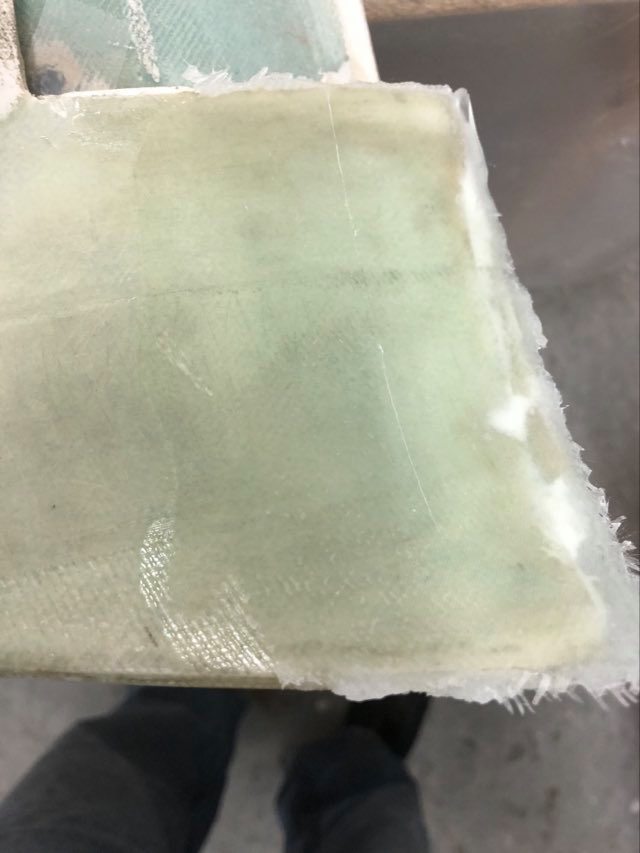
The lower area of the damaged fairing was repaired and held in place with wetted peel ply taped tightly to hold the repaired area in place while it cures. The upper area will be repaired once the lower area cures.

Trimmed and sanded the right elevator repair and sanded other trailing edge rough spots.
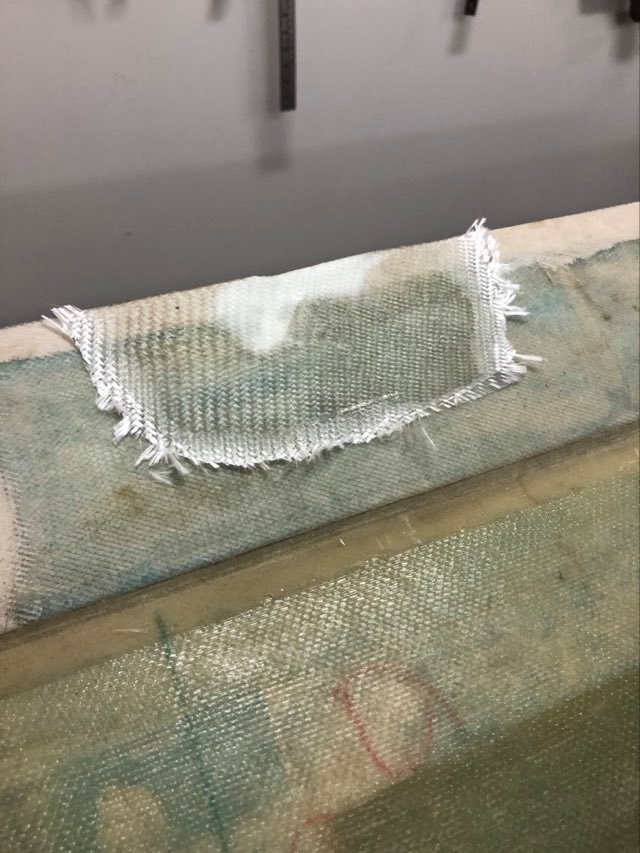
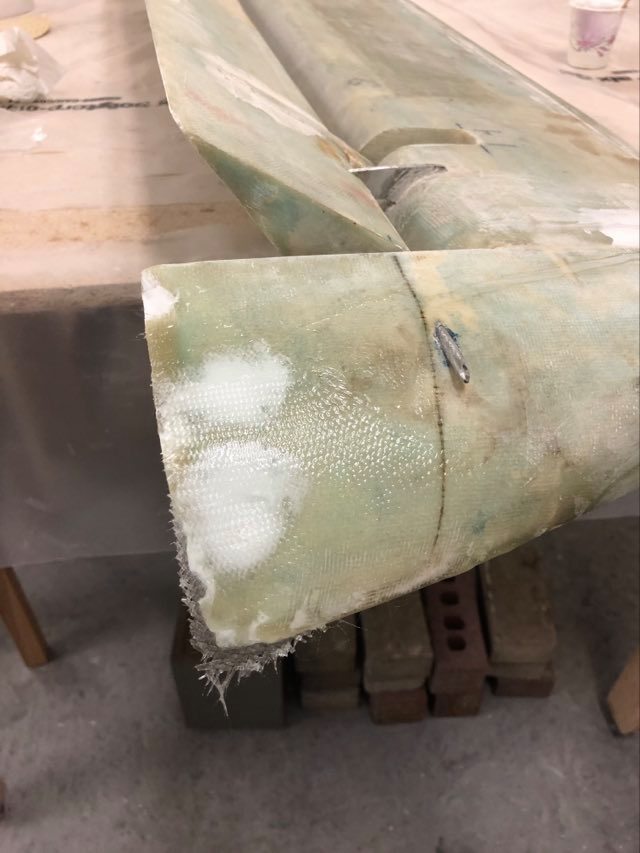
More sanding of rough spots along the top side of the canard. Began the left tip repair with a small BID patch on the bottom of the tip over top of a crack. Dry Micro was mixed and low areas were filled in along the canard.
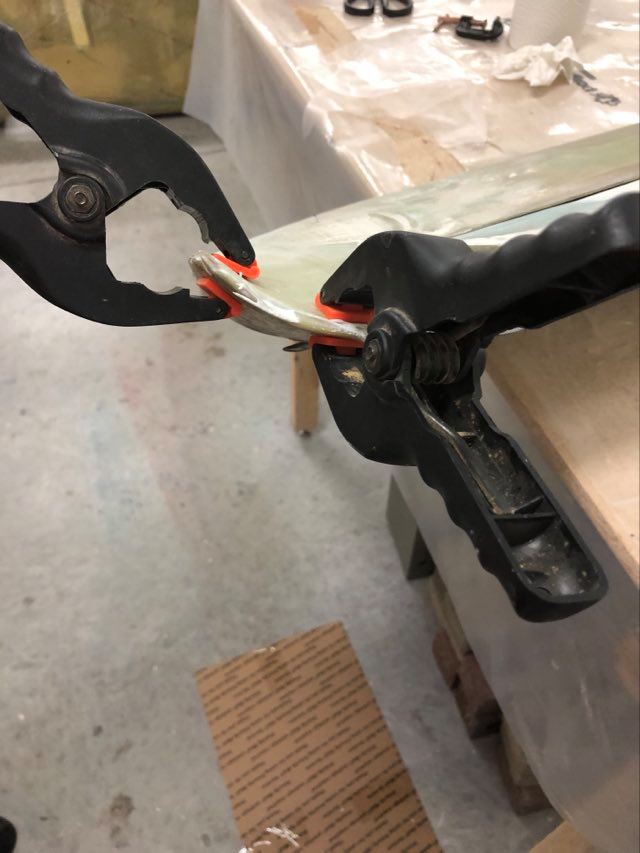
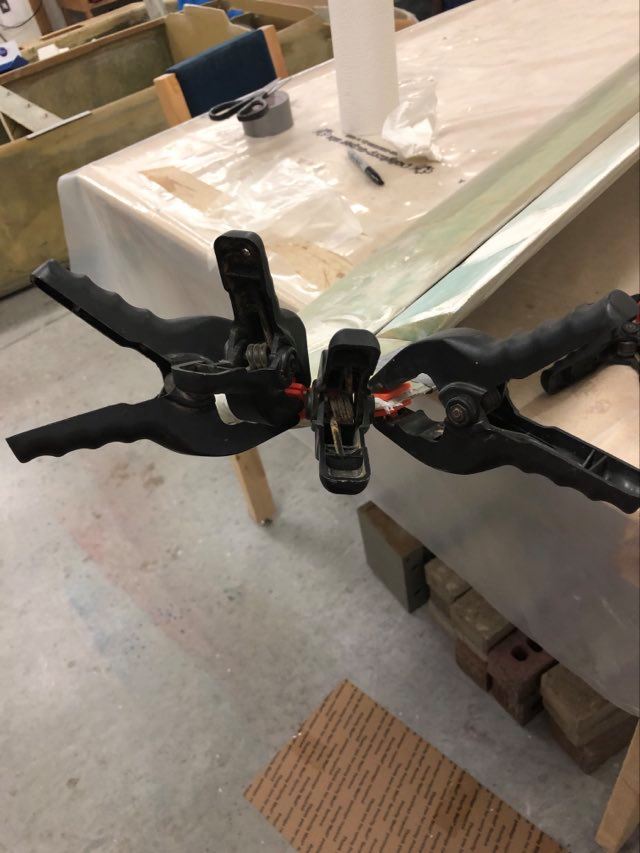
The left tip fairing was filled with micro and clamped in position. Excess micro was wiped away from the sides as the clamps were applied.
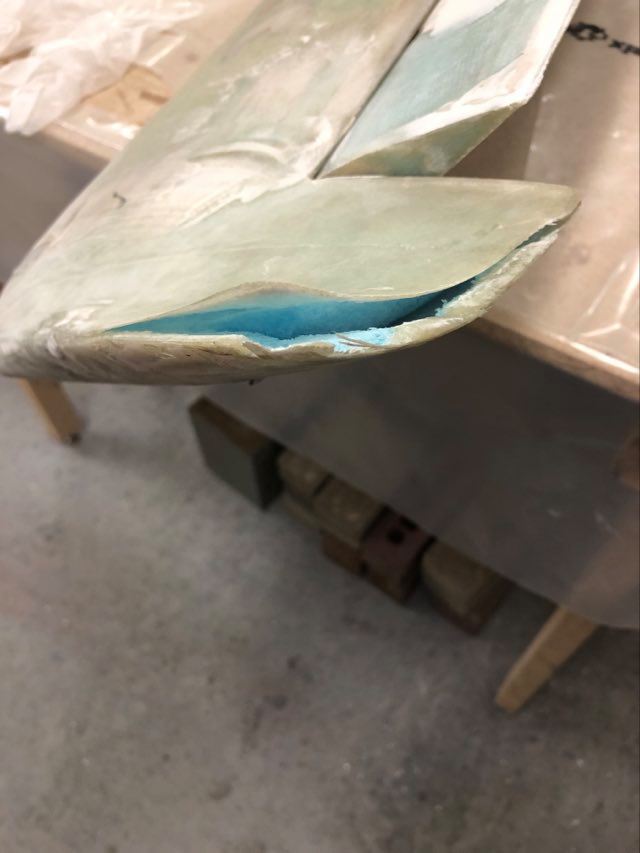
The left fairing was sanded on both sides. Dry micro was added to fill some valleys on the bottom side of the fairing. One ply of BID cloth was applied to the back side of the fairing to replace material that is missing.
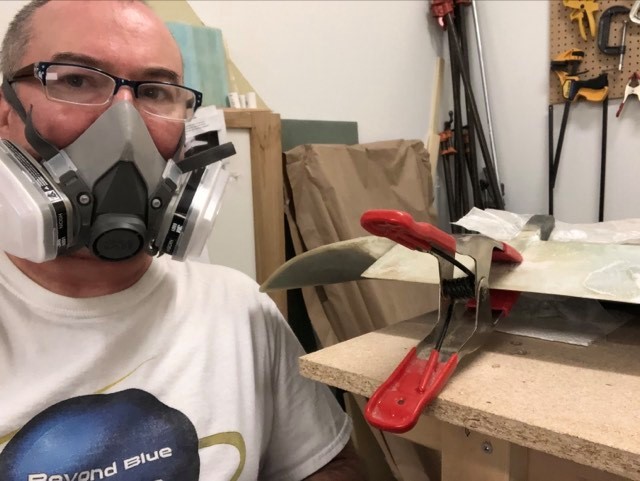
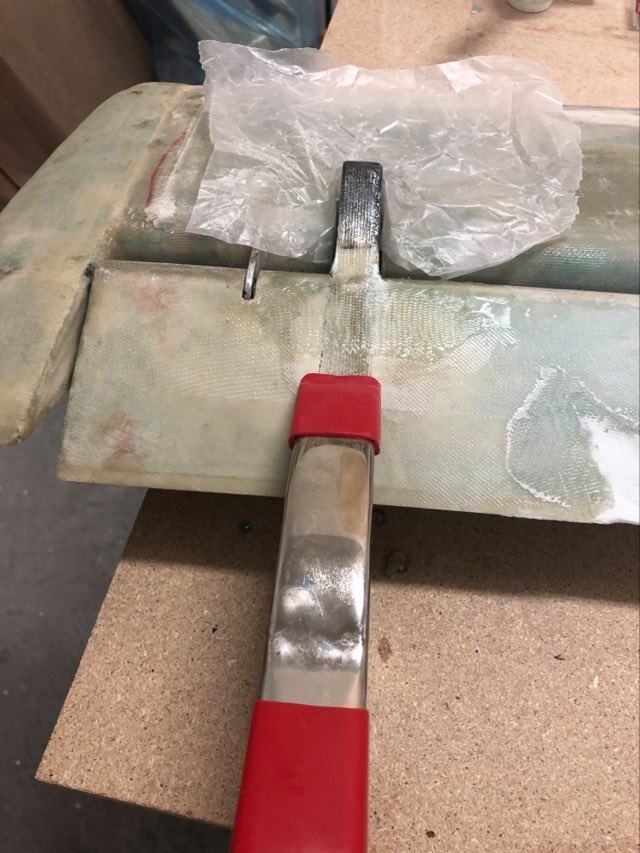
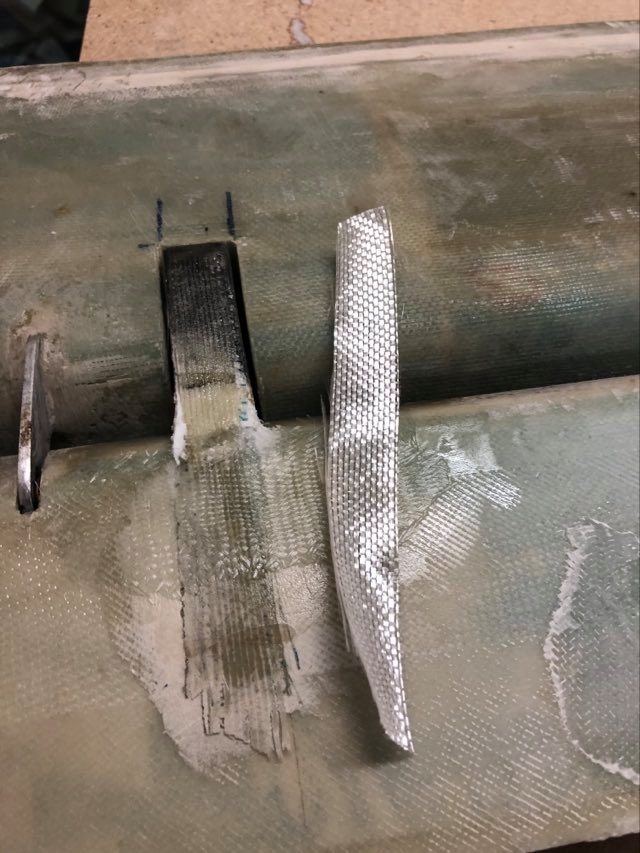
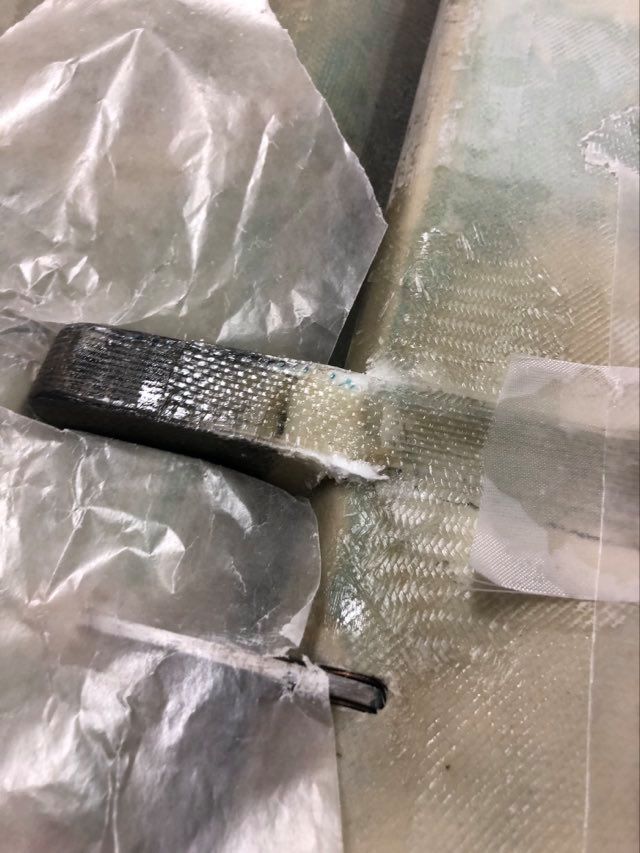
The right outboard mass balance was detached from the canard when it arrived from Edmonton. I placed wax paper under the existing UNI strap and mixed a small batch of epoxy and dry micro. I added dry micro to replace any missing foam between the foam piece on the mass balance and the foam remaining on the right elevator.
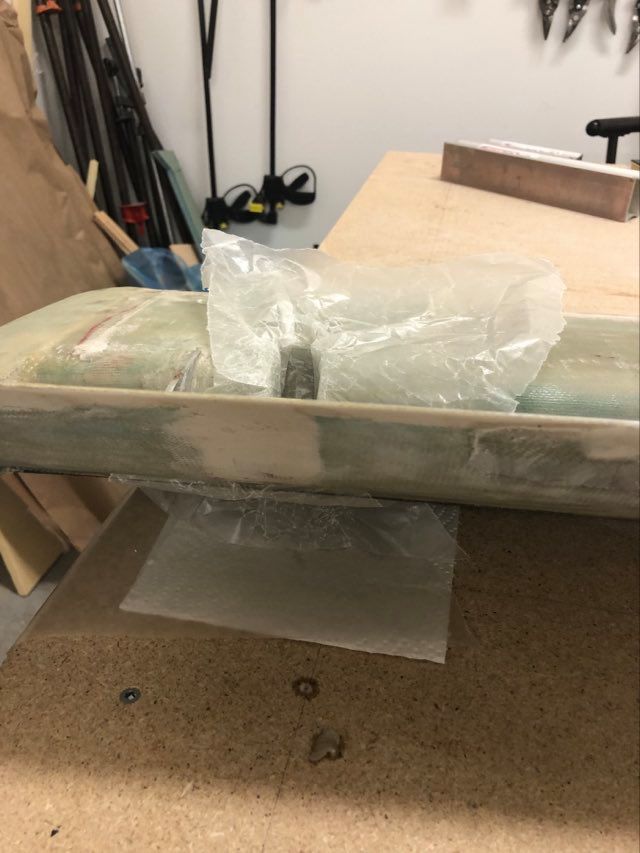
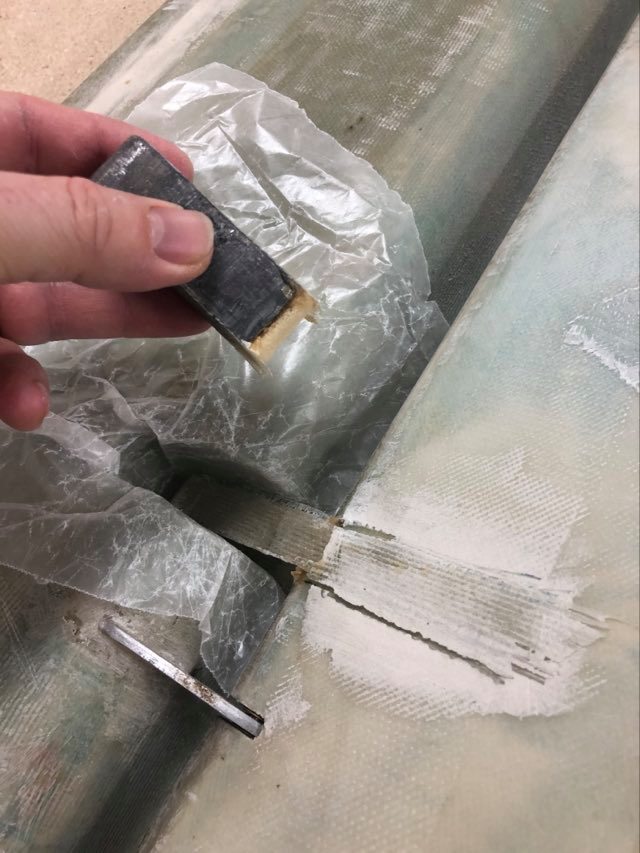
I used a 1″ brush to apply epoxy to the UNI strap and to its interfacing locations on the mass balance and elevator. I used a clamp to hold the mass balance and UNI strap in position during cure. A single layer of BID cloth was applied over the UNI on the elevator to hold the UNI strap in place.
Tightened the two inboard mass balance weights.
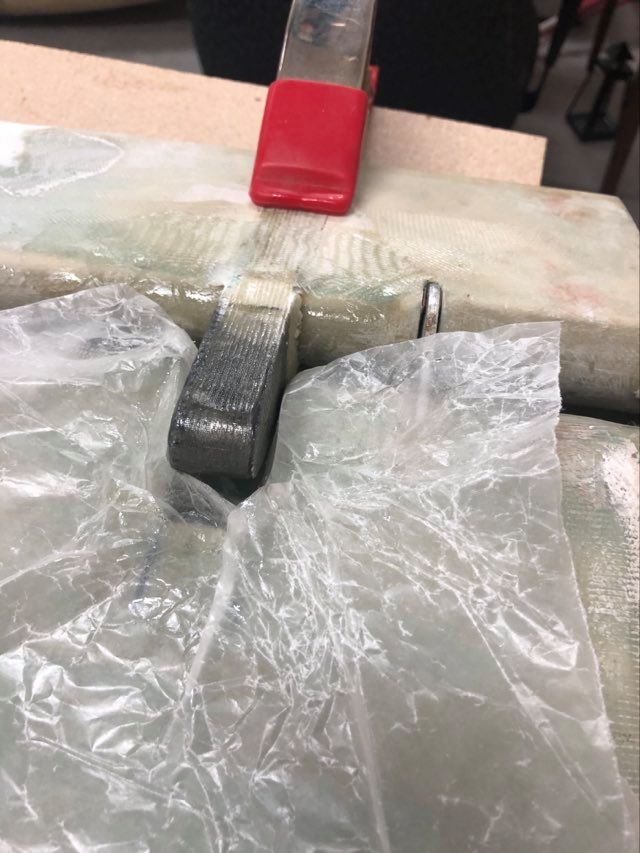
Added one layer of UNI cloth to reinforce the right outboard mass balance.
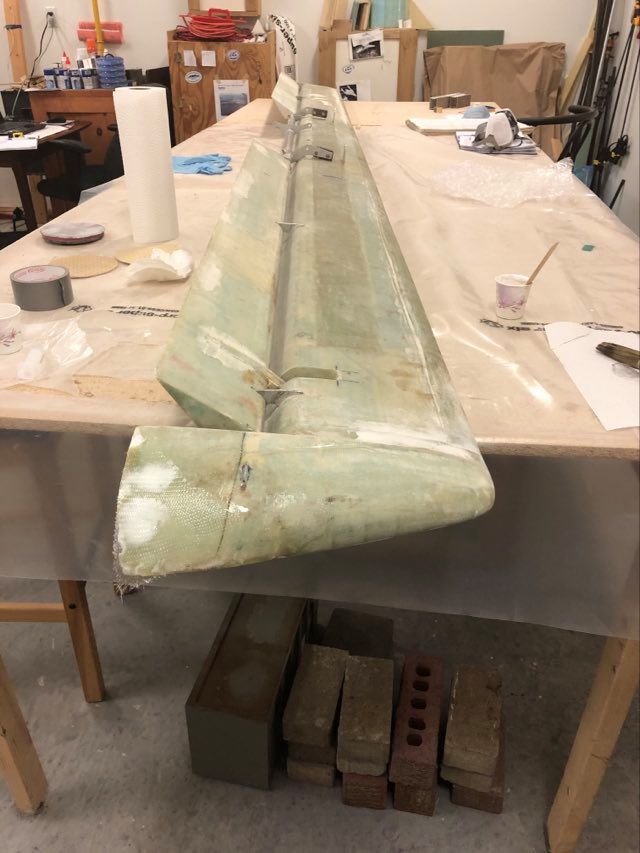
Sanded the bottom side of the canard and added dry micro to smooth over any low points.

Continued sanding the bottom side of the canard, vacuumed the dust and then turned the canard top side up.
Sanded and vacuumed the area to be repaired on the top side of the left fairing.
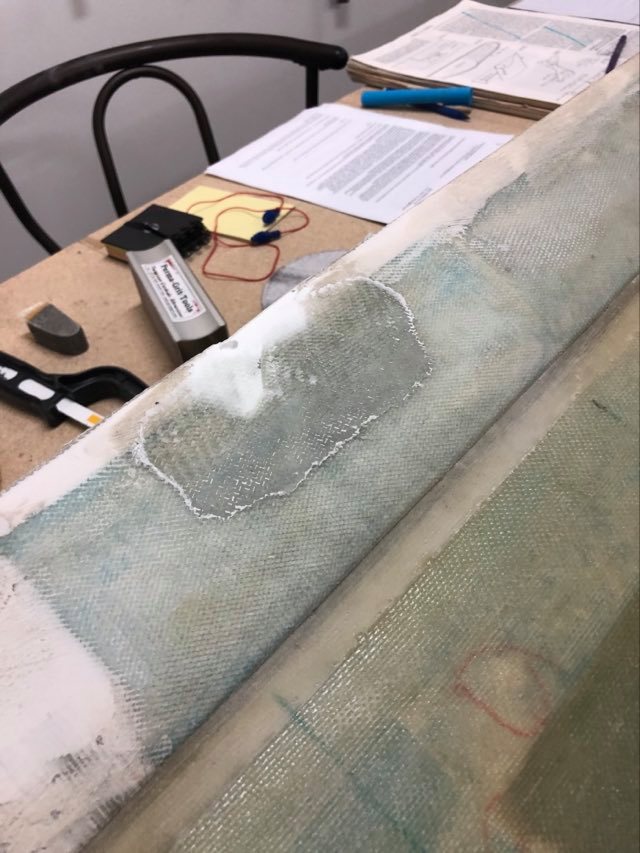
Applied flox to the edges of the top left fairing and applied a layer of BID cloth and covered it with peel ply.
Removed the peel ply from the left fairing repair.
Trimmed and sanded the left fairing to shape.

Sanded the top side of the canard, vacuumed the dust, and applied dry micro to any low spots on the top side.
Sanded the top side of the canard.
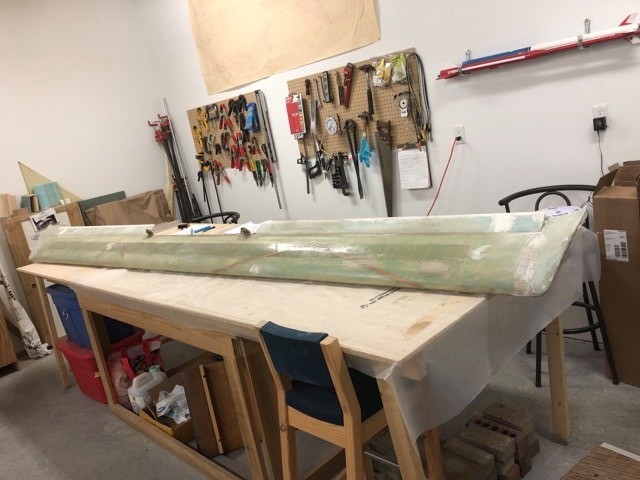
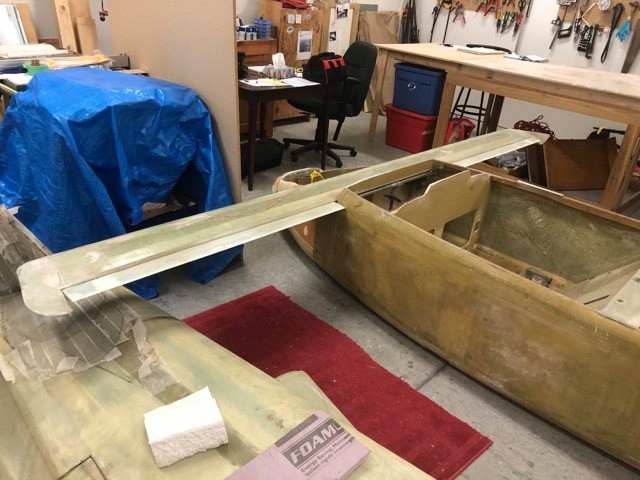
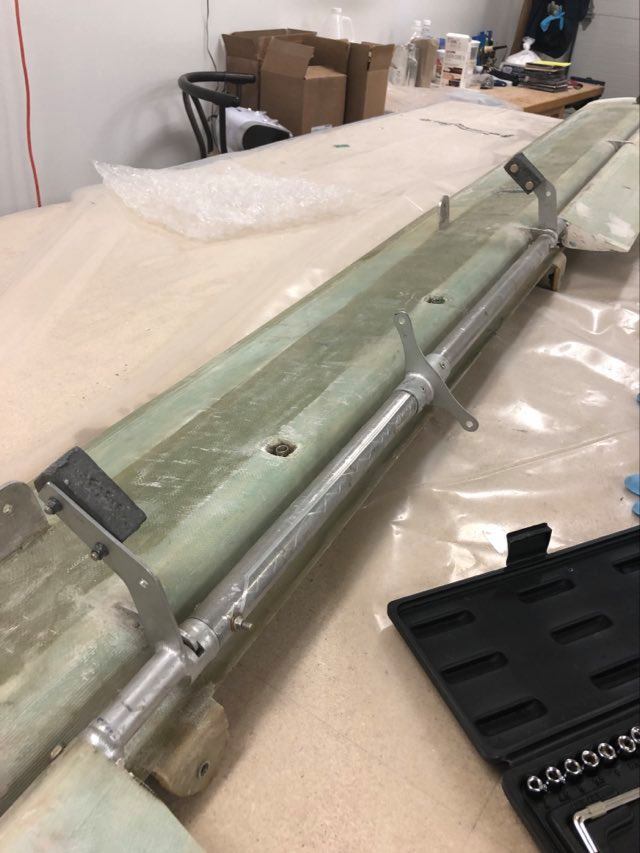
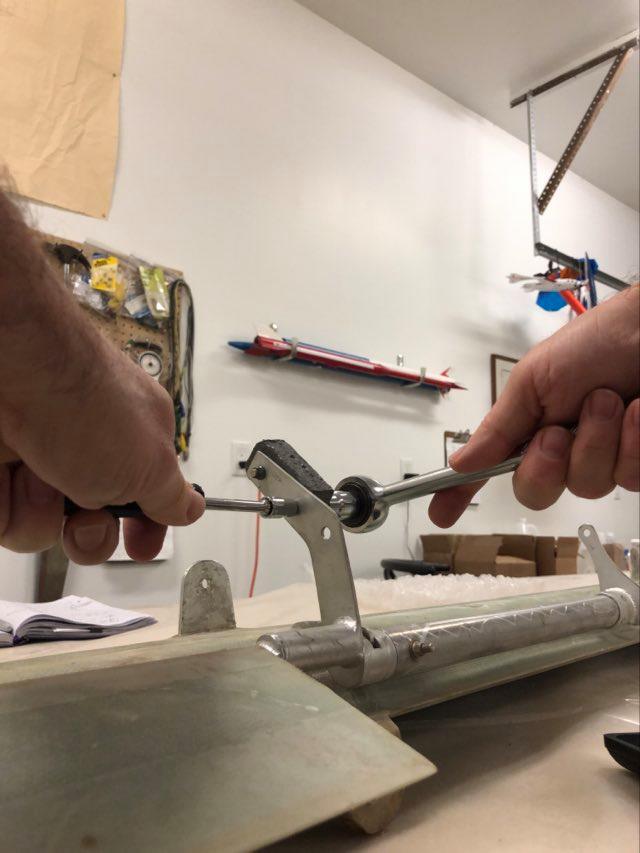
Tested the fit and function of the canard on the fuselage. Verified the elevator balance was sufficient.