Removed the peel play at the winglet to wing interface and removed the bondo that was securing a brace during winglet installation.
Seven new AN525-832R8 screws were installed in the aileron hinges to replace the temporary screws used during aileron construction and setup.

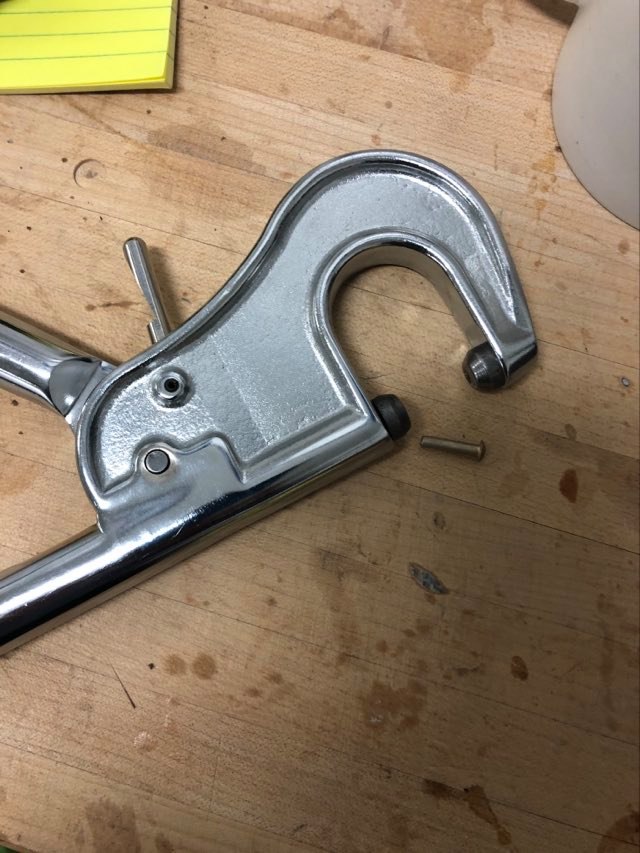
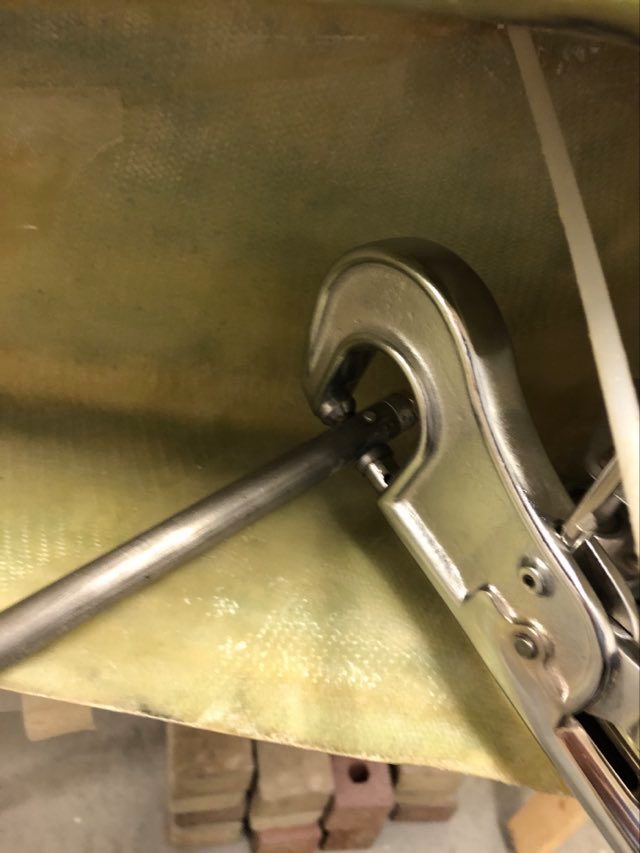
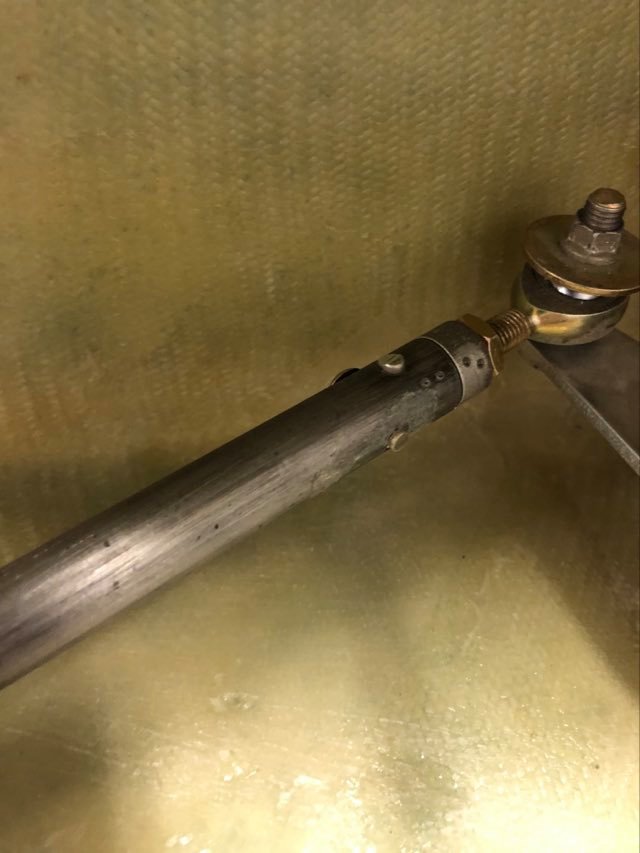
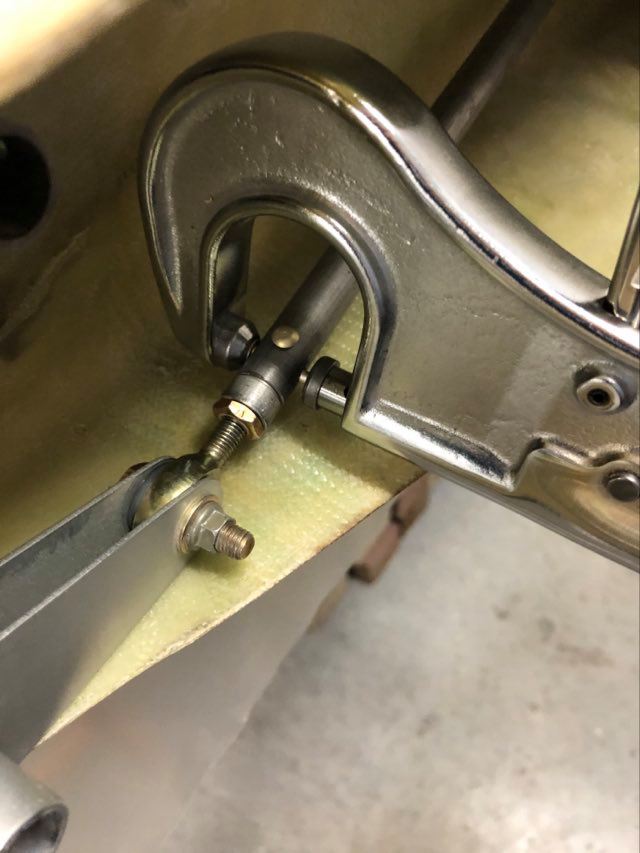
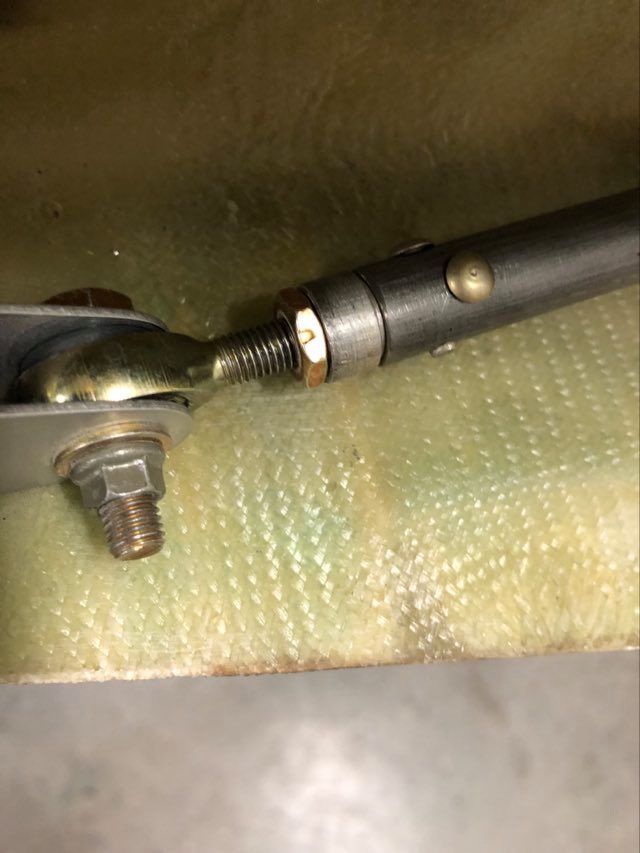
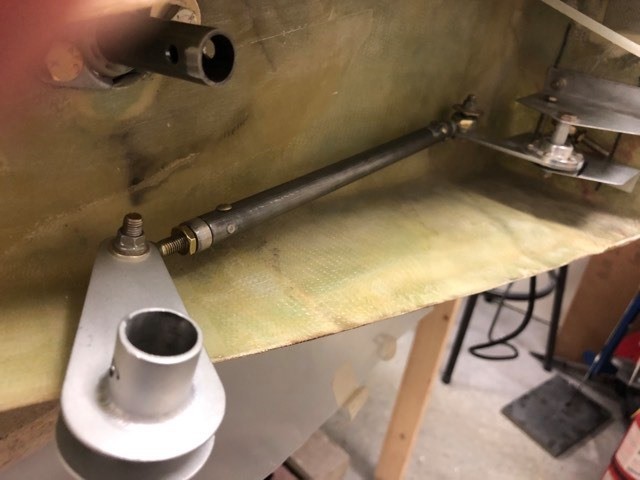
Four solid AN470 AD4-10 rivets were installed in the aileron pushrod rodend assembly using the rivet squeezing tool.
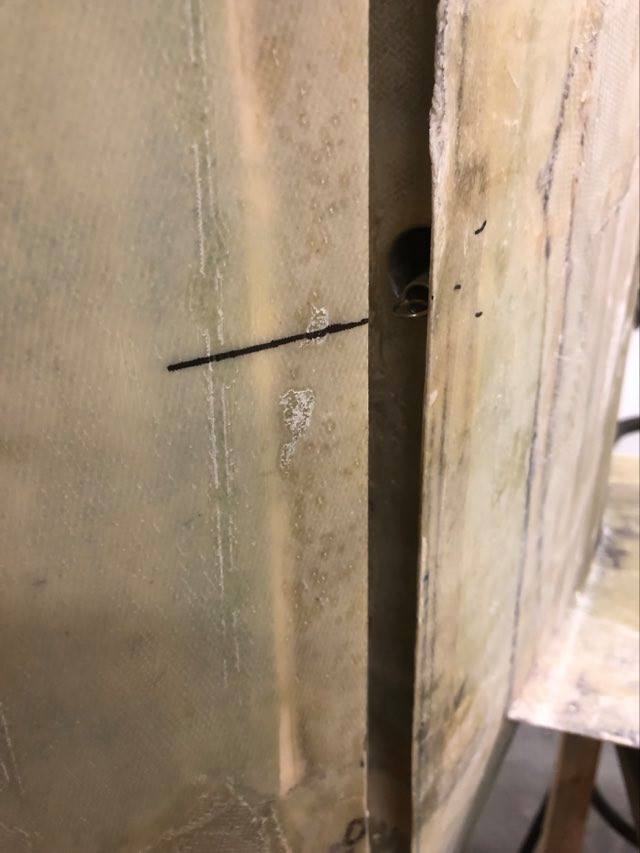
Epoxy was injected into an air bubble near the root of the leading edge as well as into a bubble near the top inboard wing/spar attachment point. Workshop temperature was 23 deg C with 55% humidity.
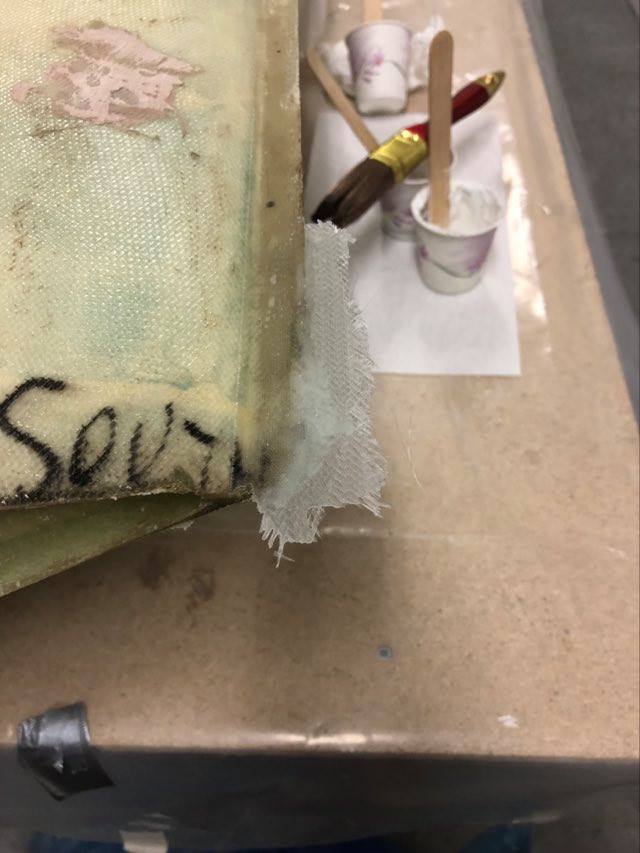
Inboard trailing edge corner repair (top side) with two layers of bid cloth.
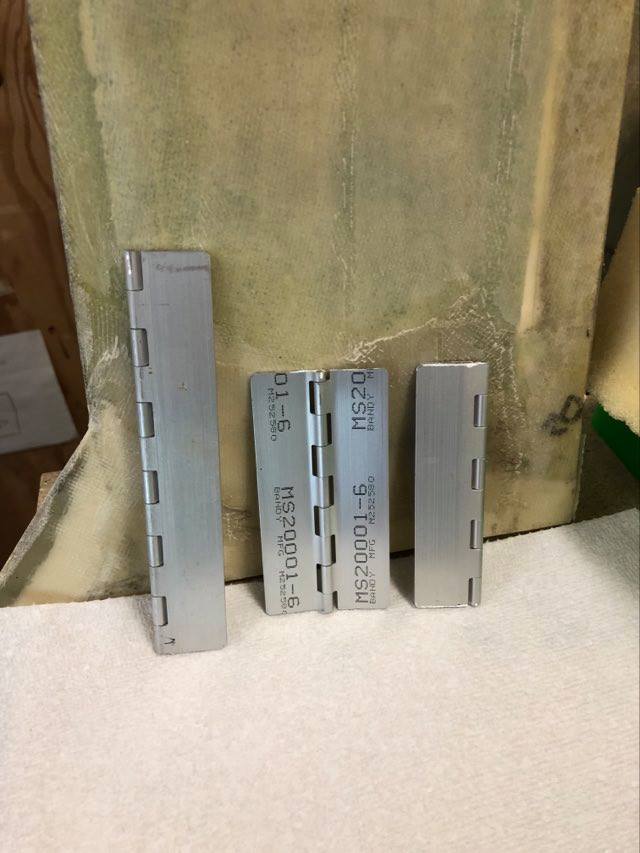
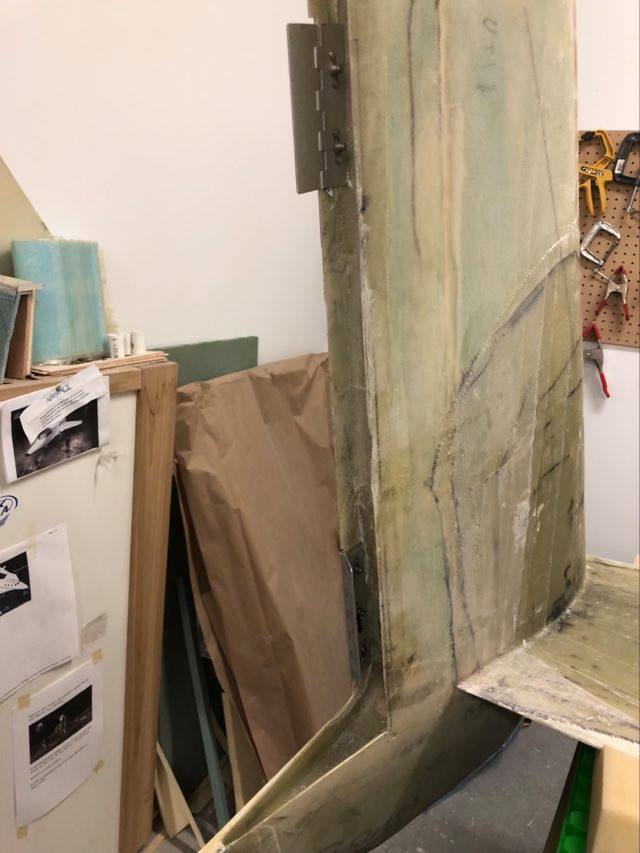
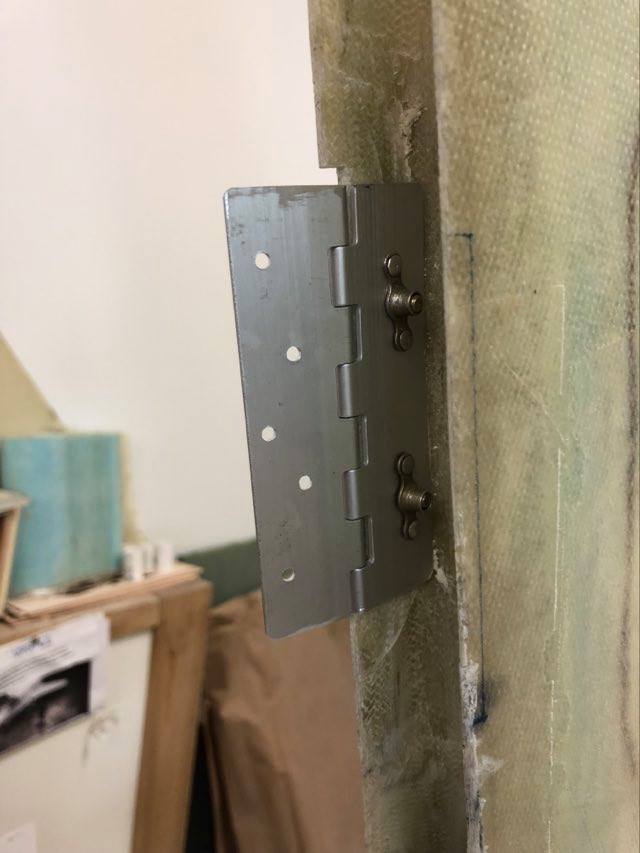
One 6″ hinge and two 4″ hinges for the left rudder attachment.
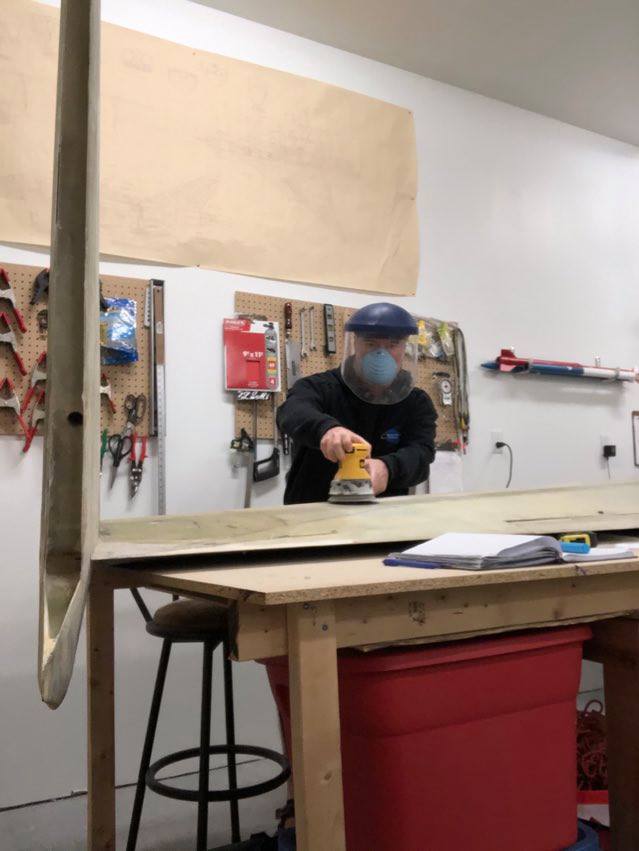
Sanded the rudder and the winglet at the top of the rudder opening and at the hinge locations. Marked the locations for the rivets and screws on all 3 hinges. Drilled holes in the hinges on the side that attaches to the winglet.
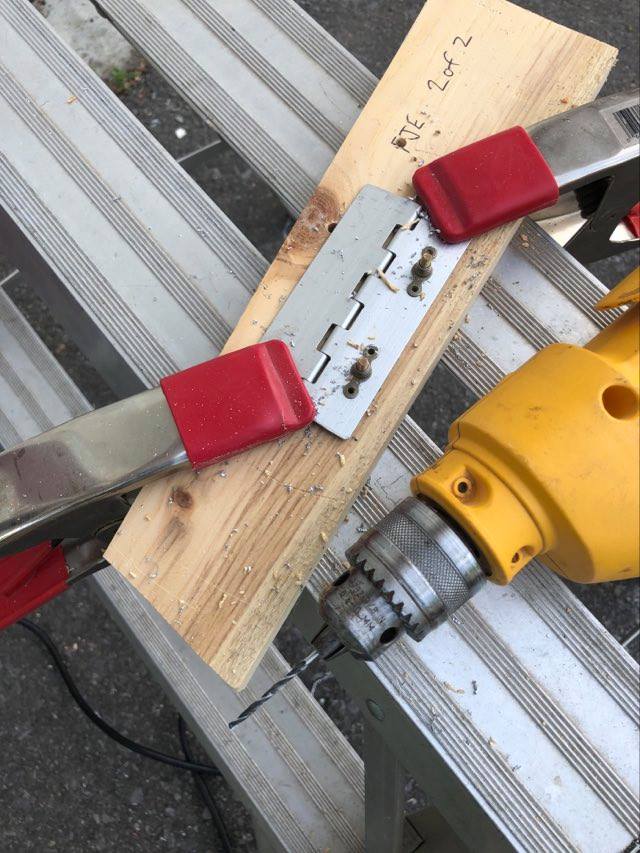
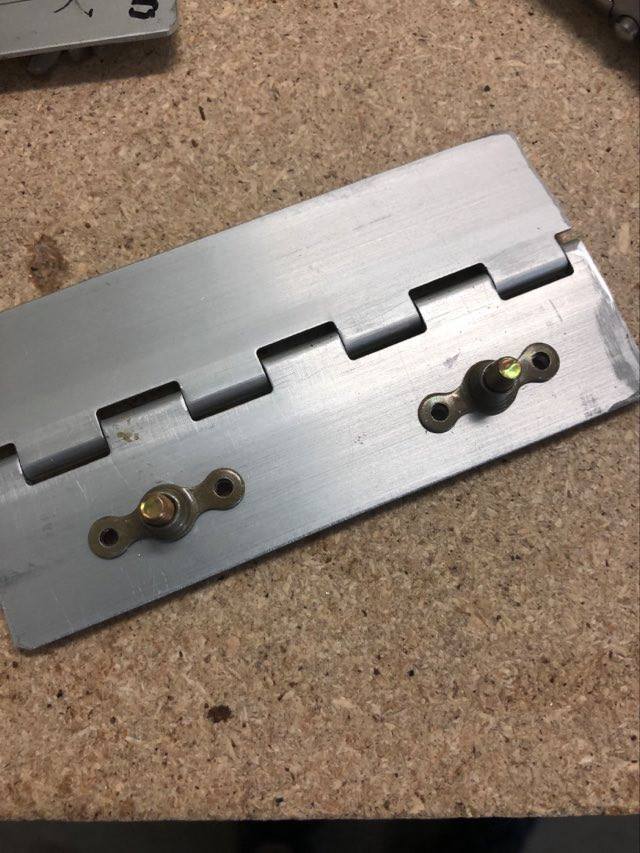

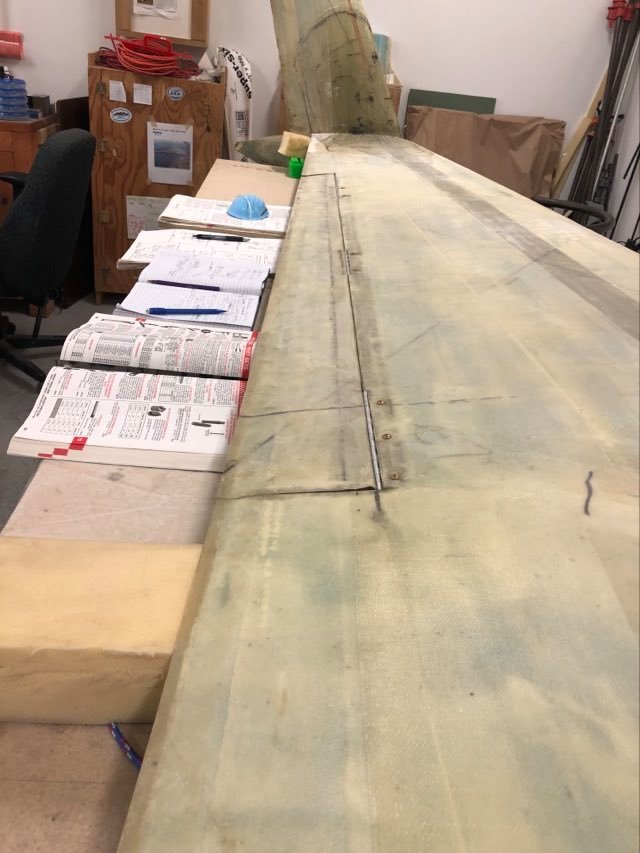
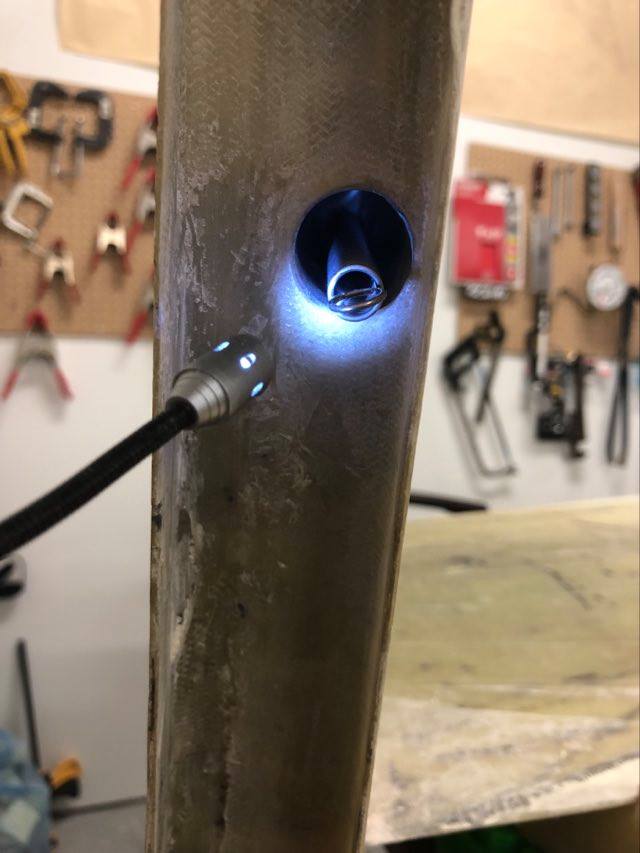
Nutplates were secured to the winglet side of the hinges with solid rivets. The three left rudder hinges were aligned with a straight piece of board and held in place on the winglet. A flash light was used to identify where the holes needed to be drilled in the winglet to align with the screw holes/nutplates on the hinges. The holes were drilled and the fasteners inserted.


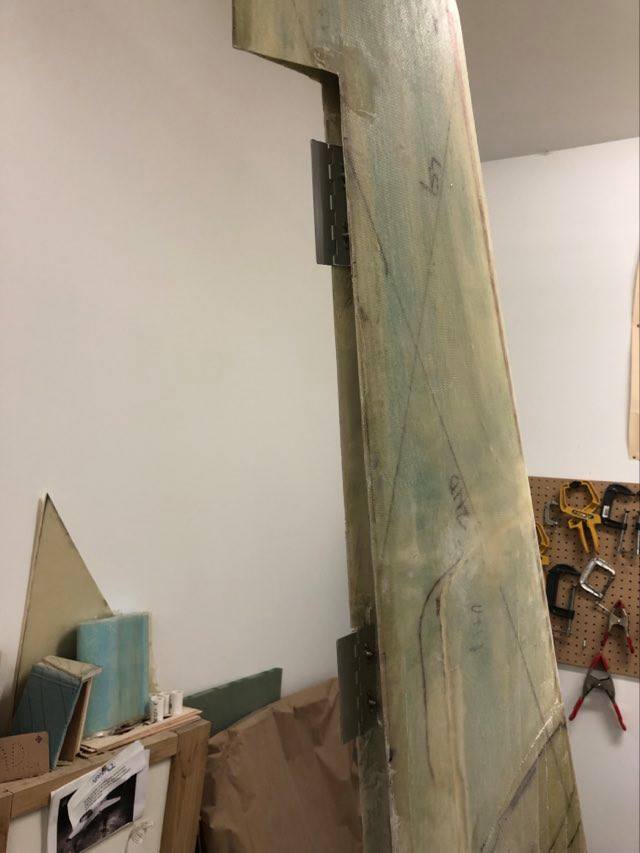

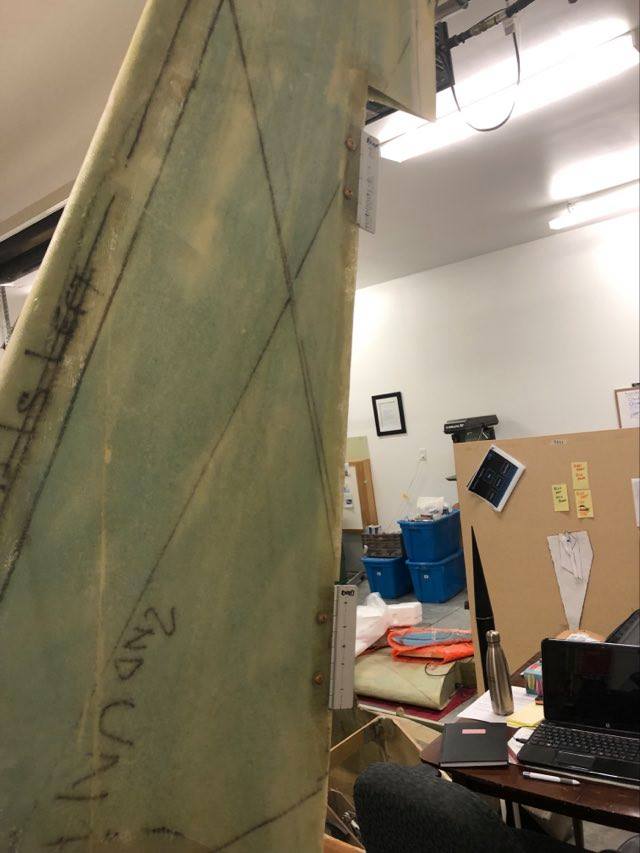
Removed all three hinges and drilled holes for the rivets that will attach the hinges to the rudder, Re-installed the hinges on the winglet and clamped the rudder in place.


Drilled holes in the rudder to align with the holes in the hinges starting with the centre hinge, then the top hinge, then the bottom hinge. Clecos were used to secure the rudder on the hinge.
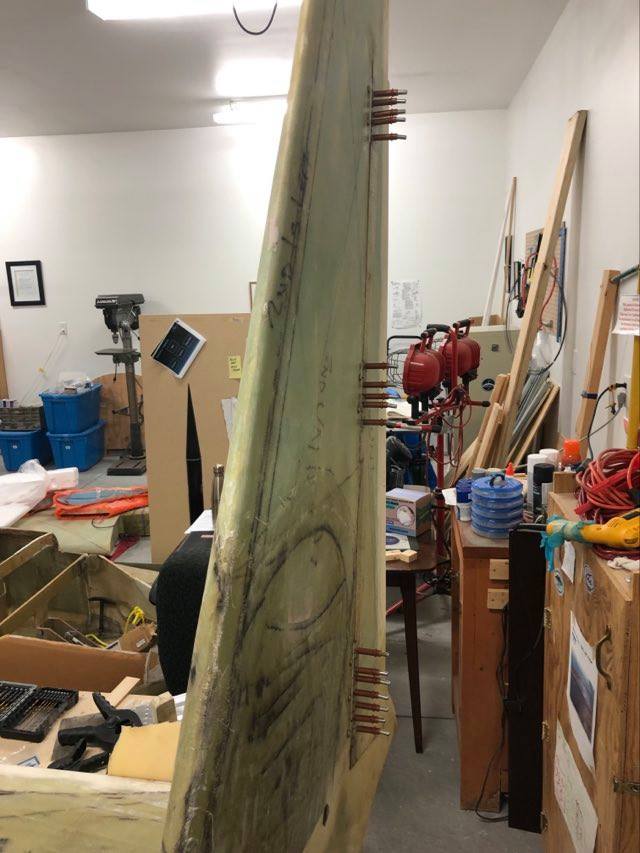
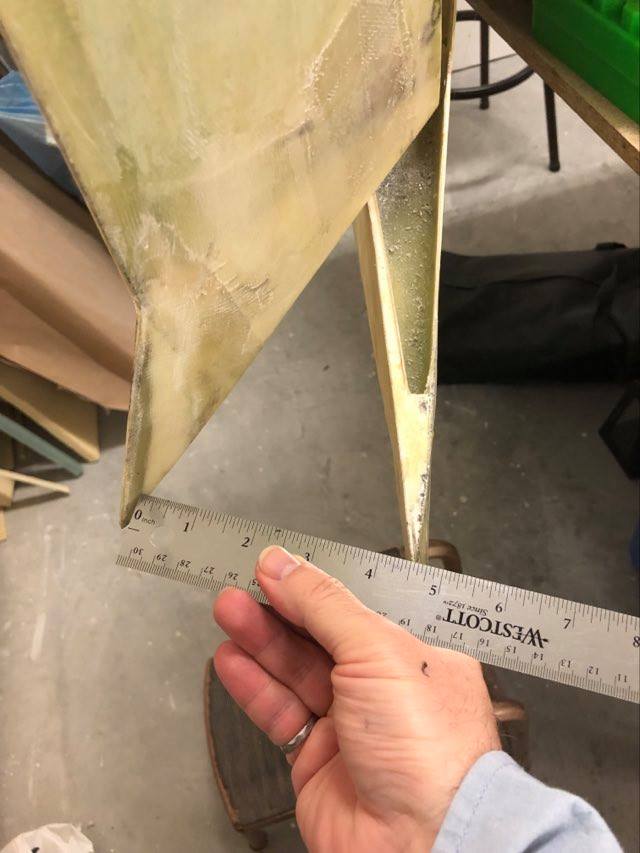
The rudder can freely move outward by 4.5″ at the trailing edge.
I removed the rudder and hinges from the left winglet. Removed all clecos and the hinges from the rudder. I covered the centre and winglet side of the hinges with tape and mixed up a small batch of flox.
I applied a light layer of flox onto the inside of the rudder on the outboard wall where each hinge sits. I secured each hinge in place with pop rivets. Five rivets on the top and middle hinges and seven rivets on the bottom hinge.

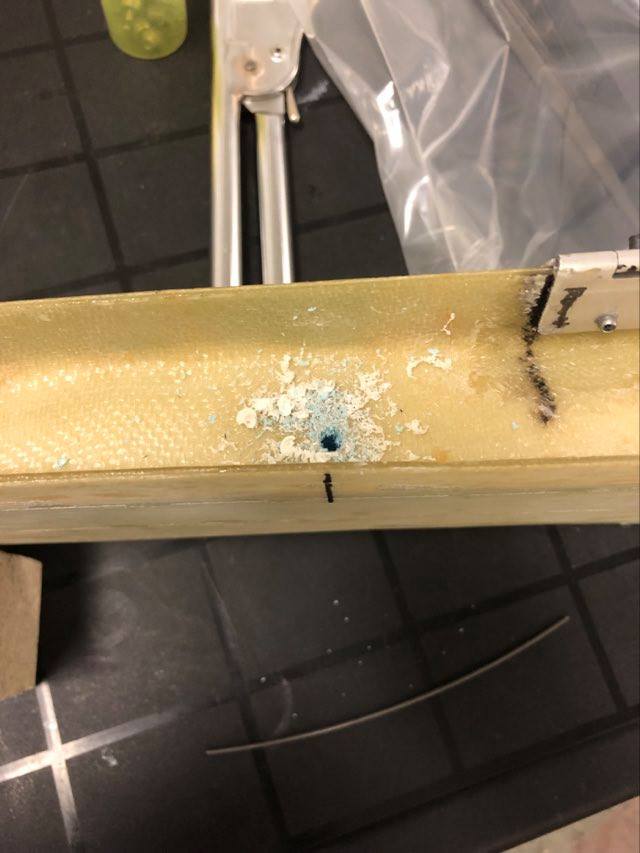
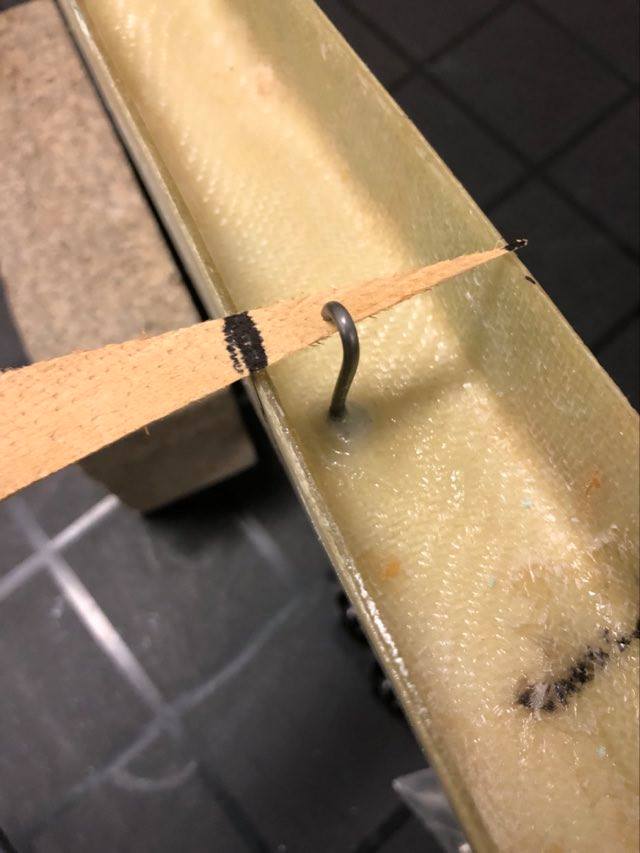
Installed spring on the winglet and re-installed the rudder. Located the position on the rudder for installing a hook to align with the spring. Drilled a 1/4 inch hole in the rudder. Made a hook out of piano wire. Mixed a small batch of flox to pot the hook in place.


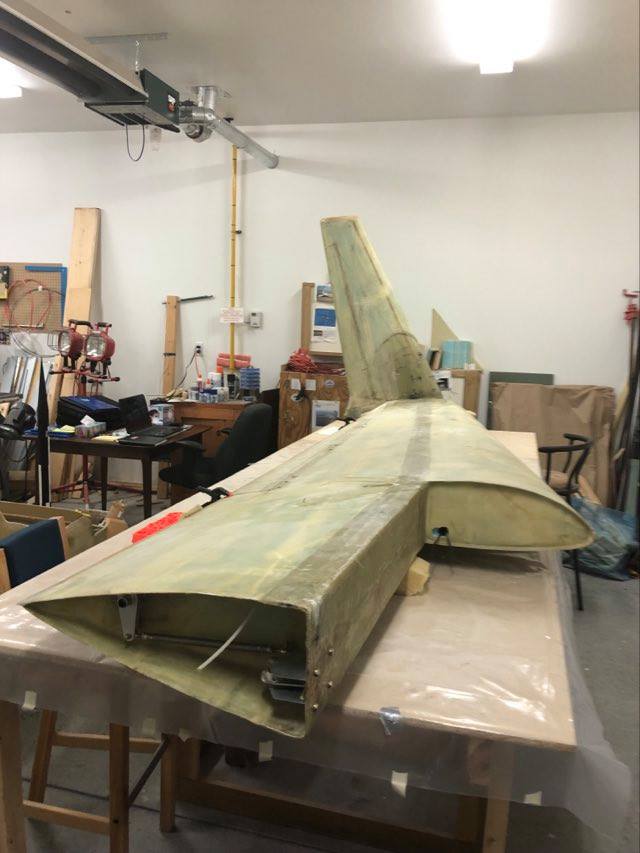
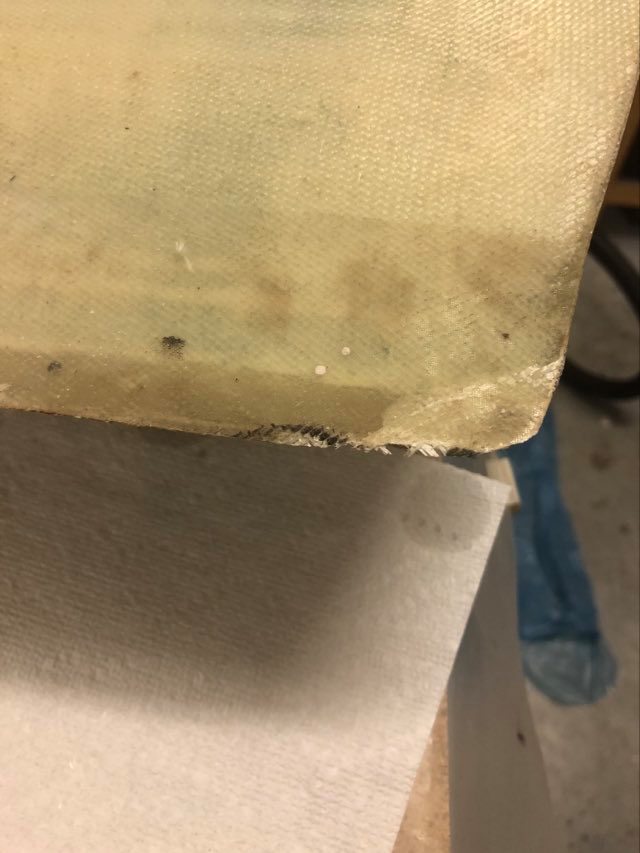
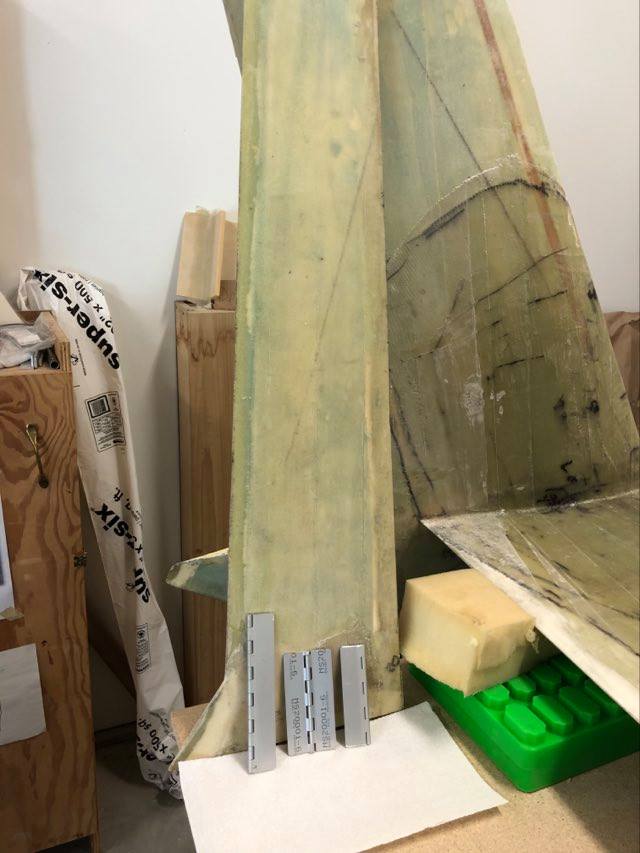
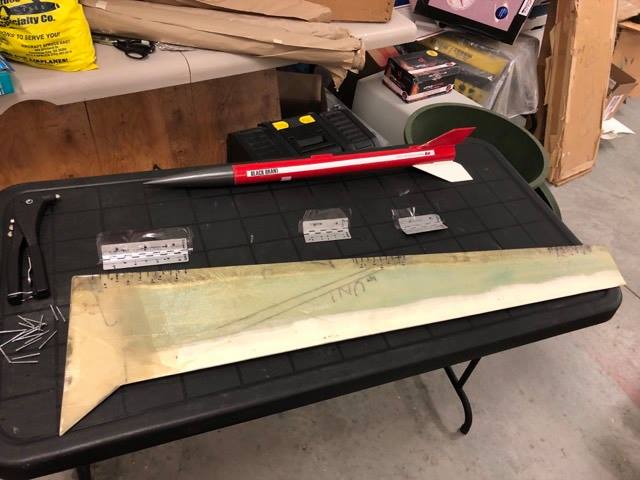
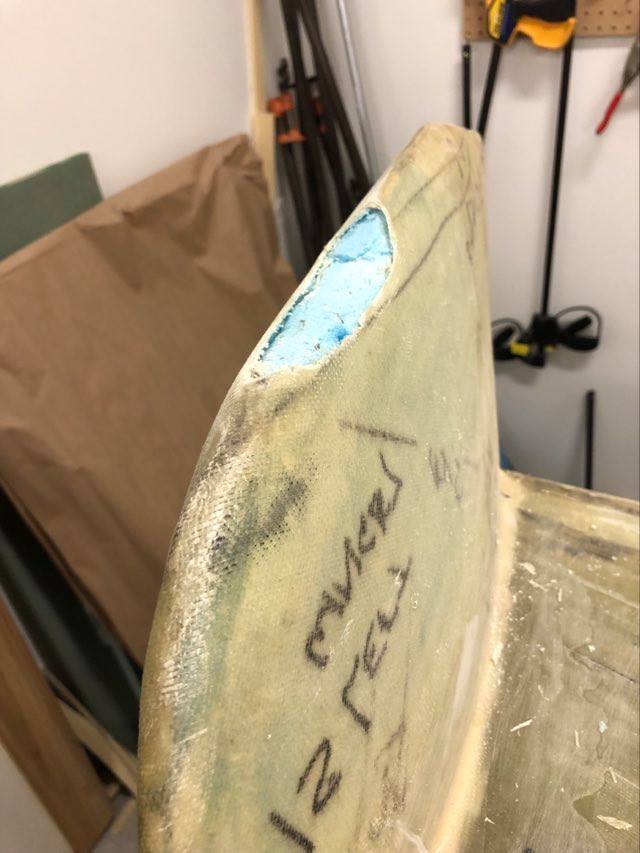
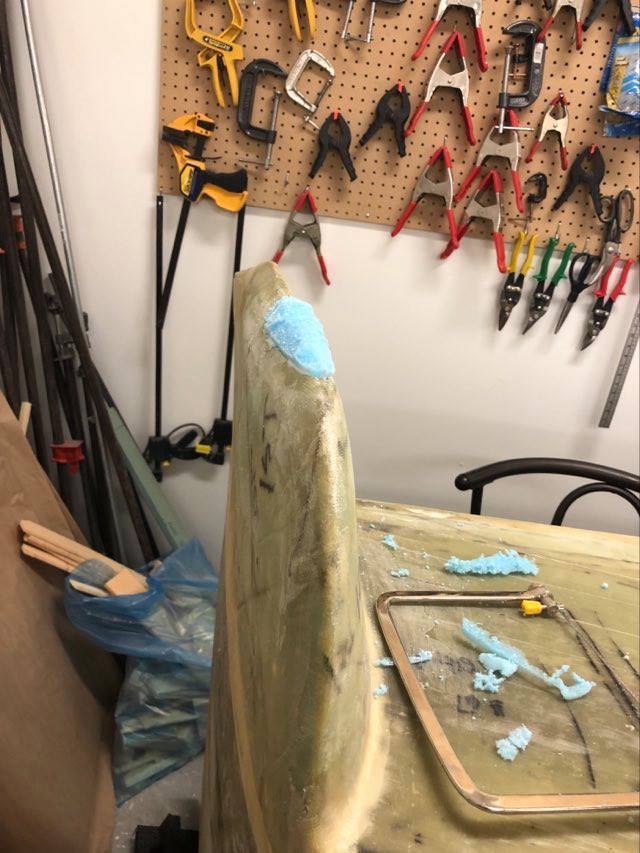
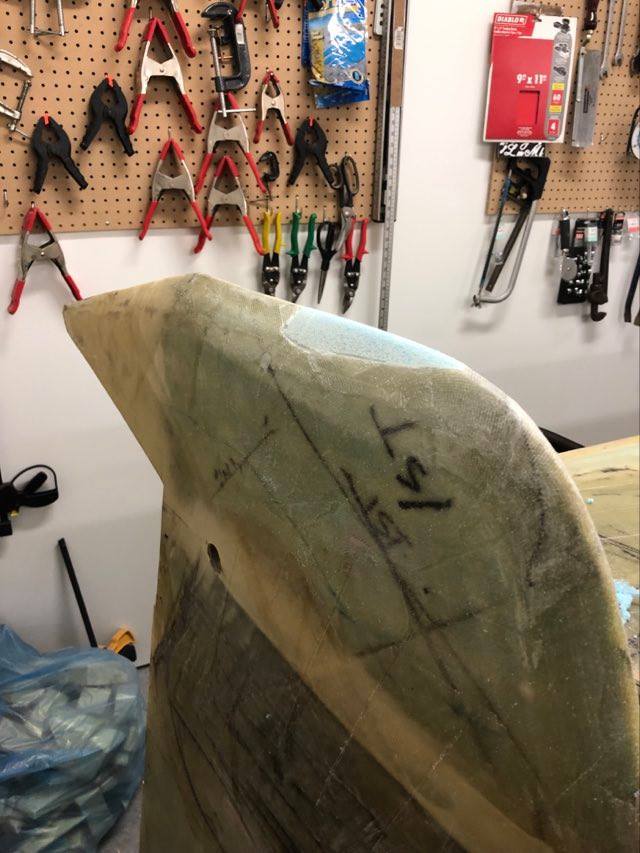
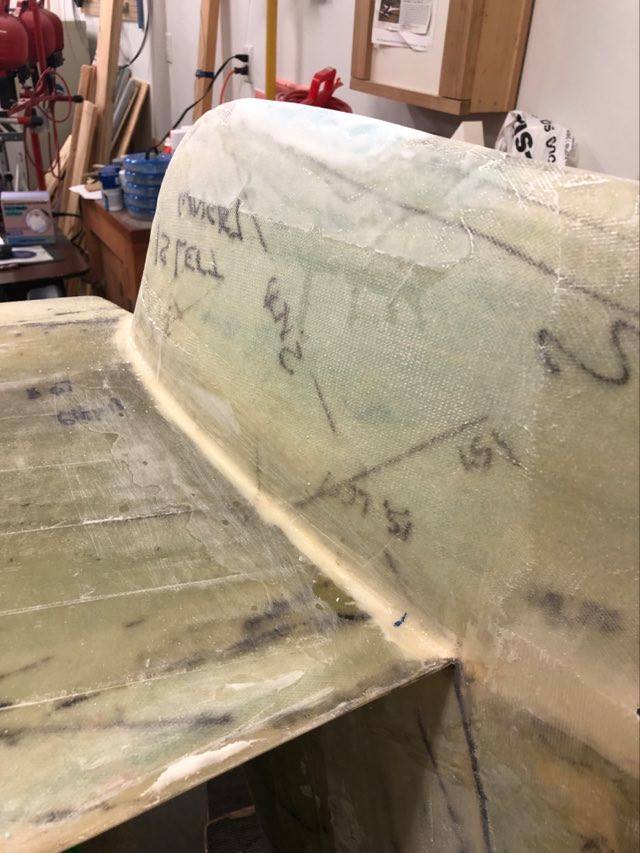
The wing was turned over on the table to inspect and access the bottom side of the wing and winglet. The left winglet was damaged during ground transportation from Alberta to Ontario.
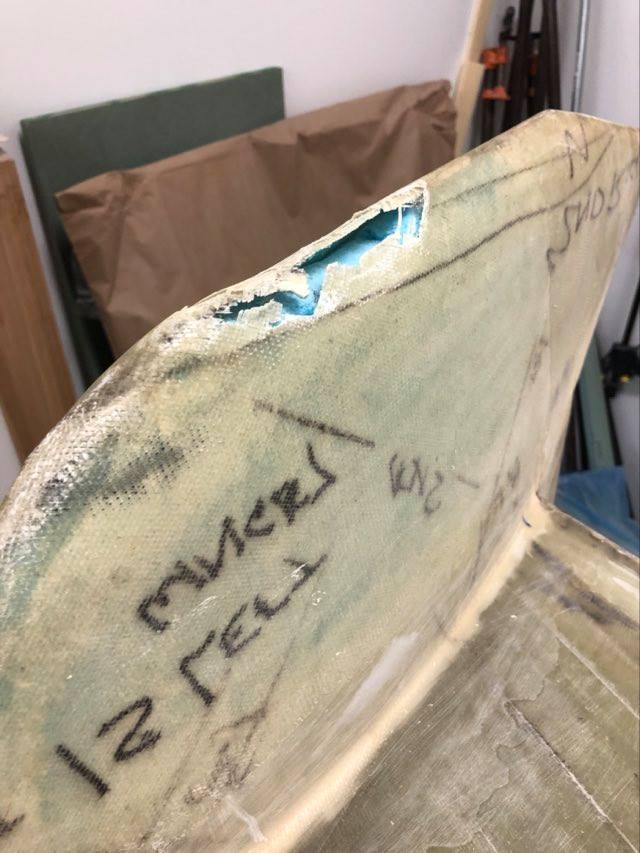
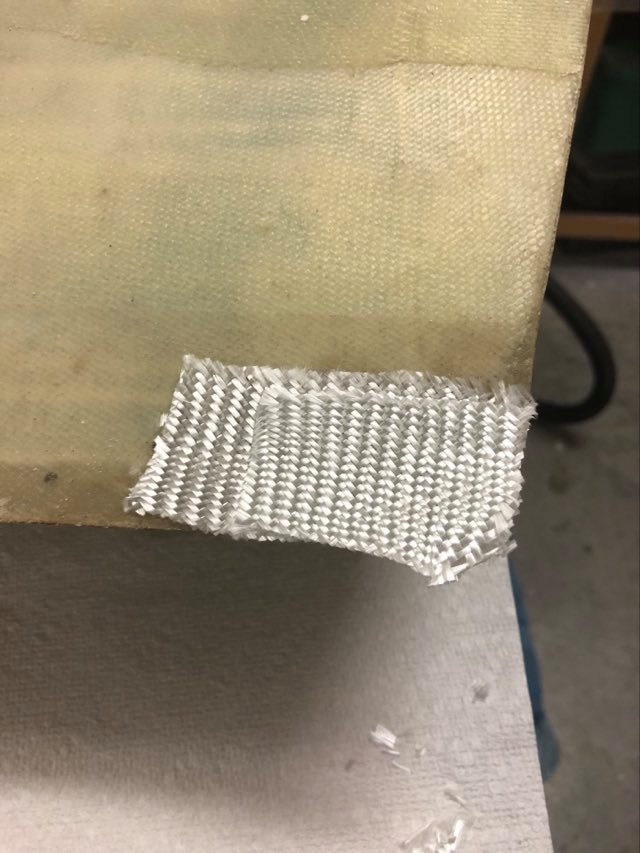
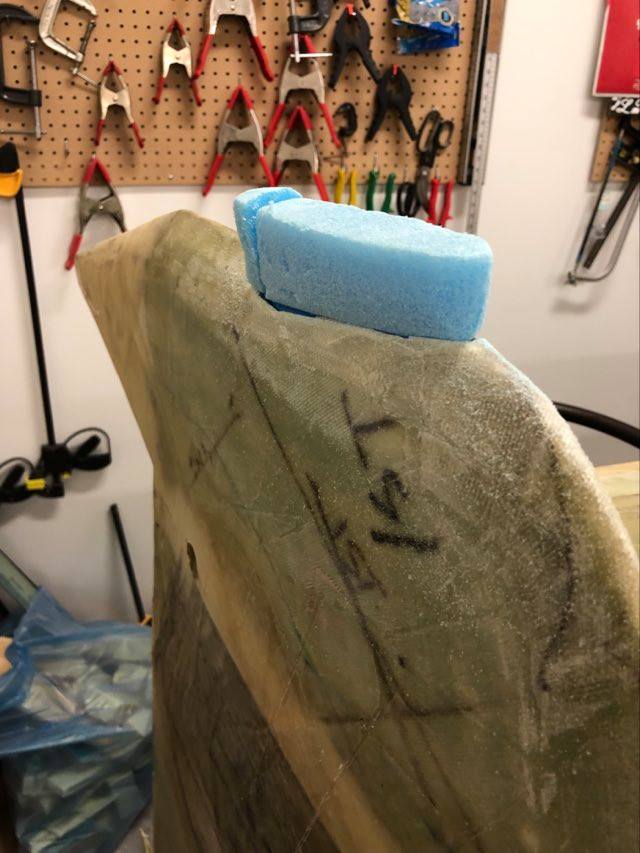
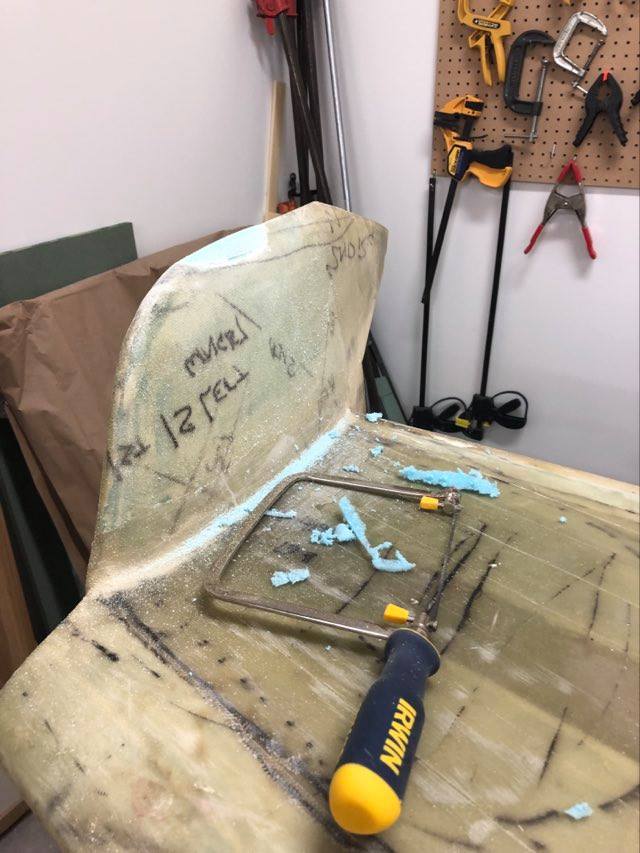
The damaged glass was cut out with a dremel tool and the area vacuumed. A piece of foam was cut and rougly shaped to be used for the repair.

Workshop temperature 23 deg C and humidity 62%.
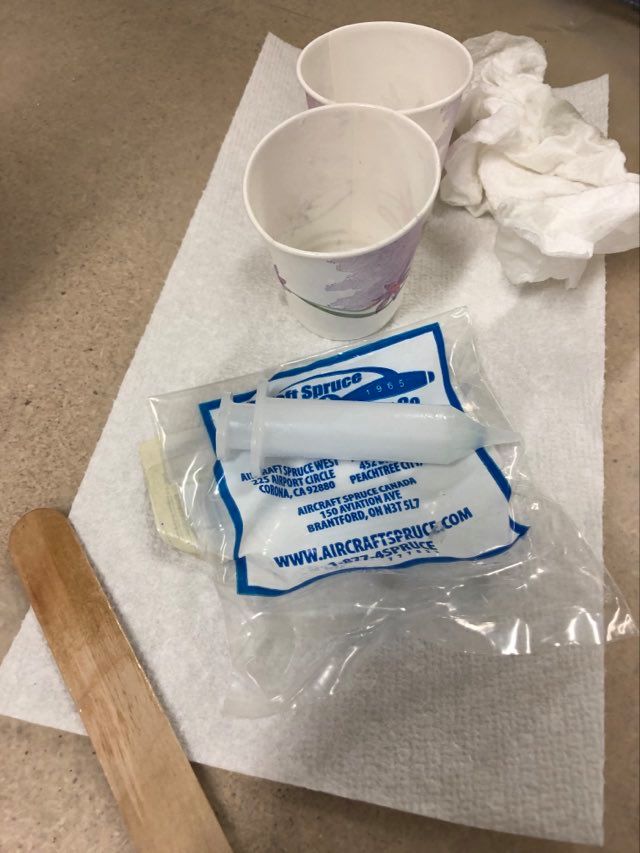
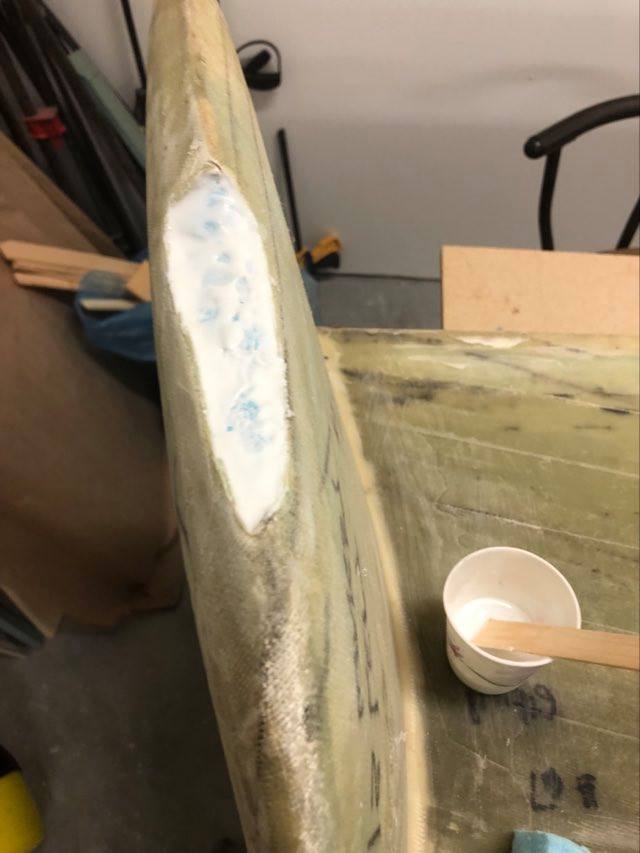
Mixed a small batch of epoxy and poured a bit into other cups to make flox and micro.
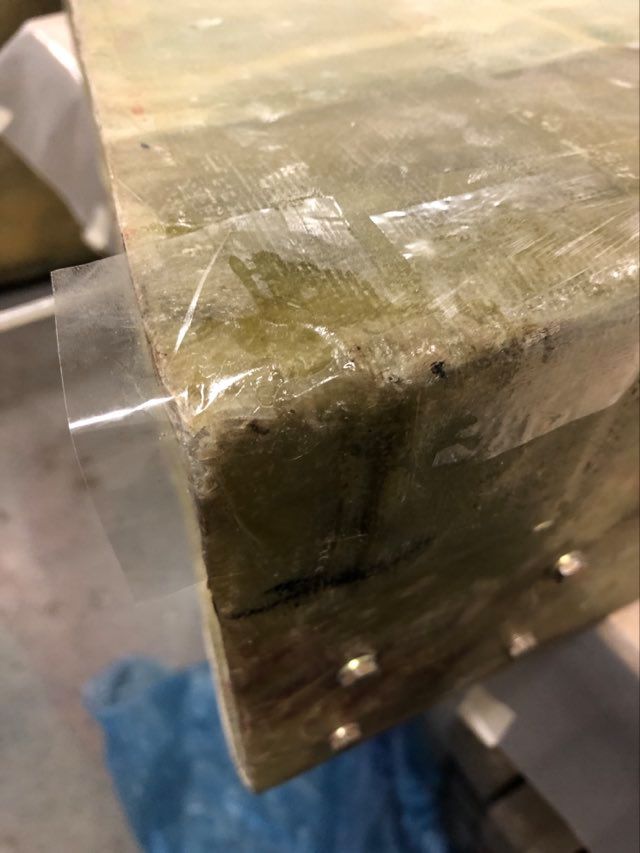
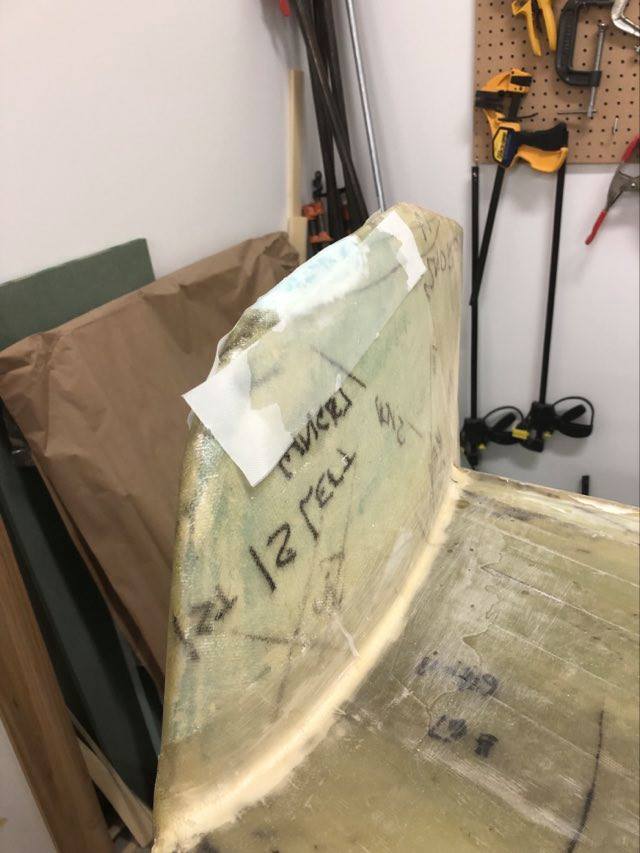
Applied micro to the bottom of the damaged winglet to fill all void areas and micro’d foam in place. The foam was taped down while it cures.

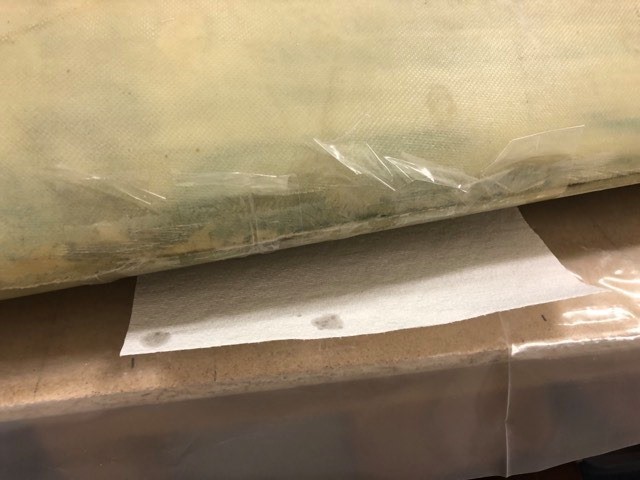
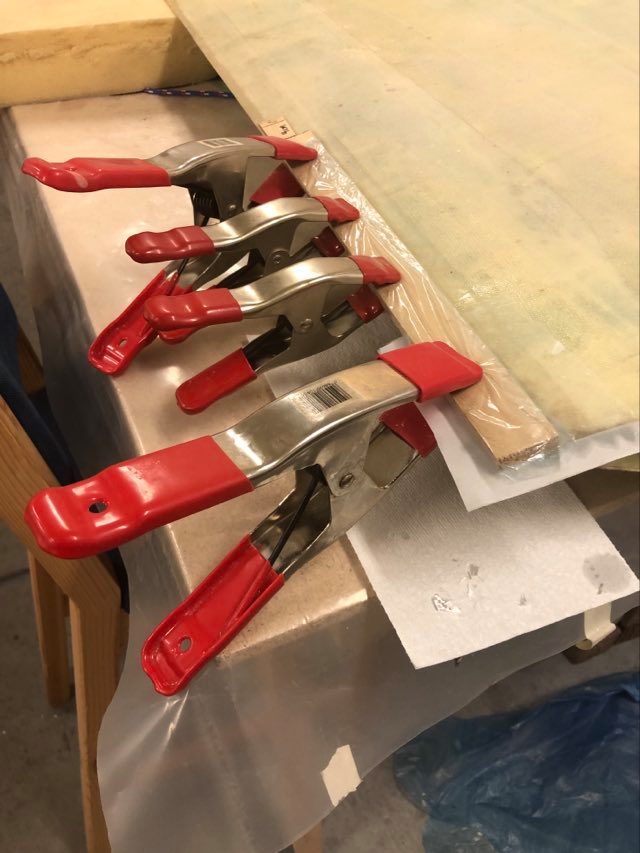
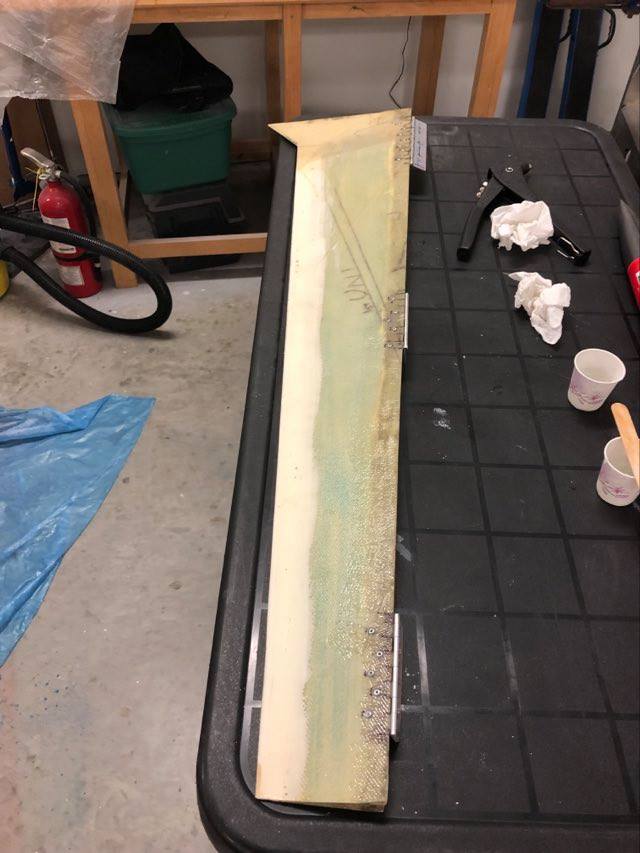
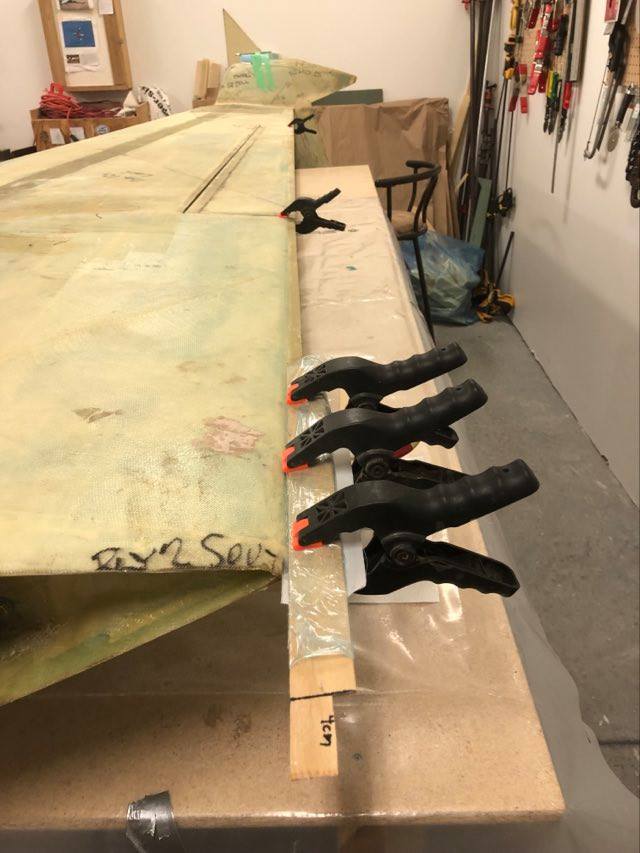
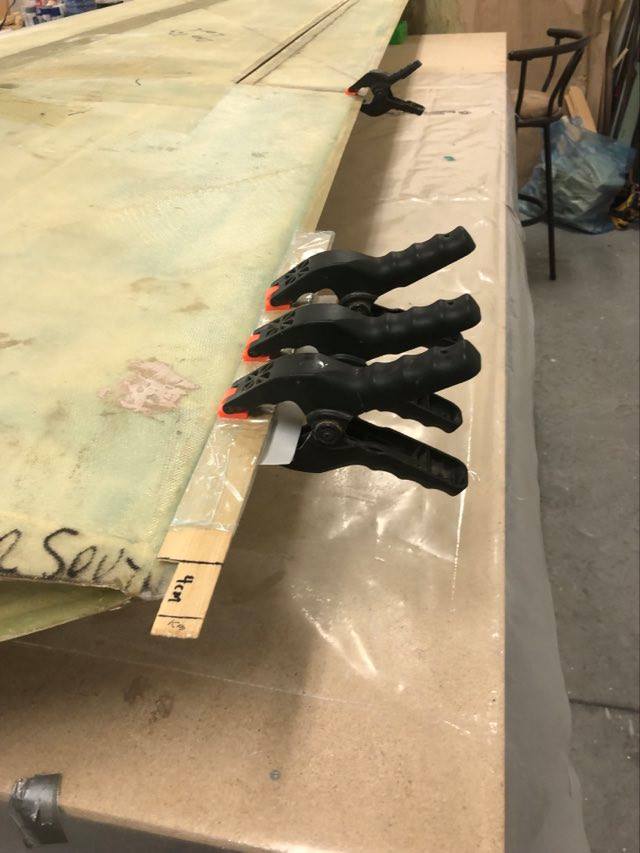
Flox was applied to the inner trailing edge of the left wing on the bottom side ontop of the 2-ply bid repair already completed on the top side. The flox was covered with 2-ply bid, peel ply, and held flat and in place with a shim and clamps while it cures.
Trimmed and sanded the trailing edge repair to shape.

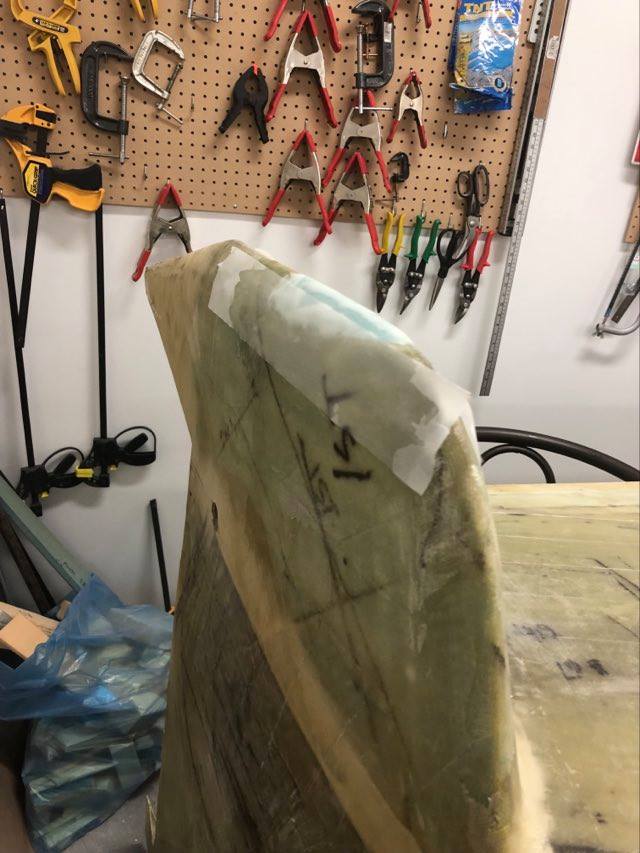
On the left winglet repair, extra foam was cut away then the foam was sanded to shape.
Cut 2-ply of UND cloth to repair the bottom of the left winglet and a small 1-ply of BID cloth to repair a spot on the trailing edge (TE).

Workshop temperature was 25degC and humidity 60%.
A small batch of epoxy, flox, and micro was mixed.
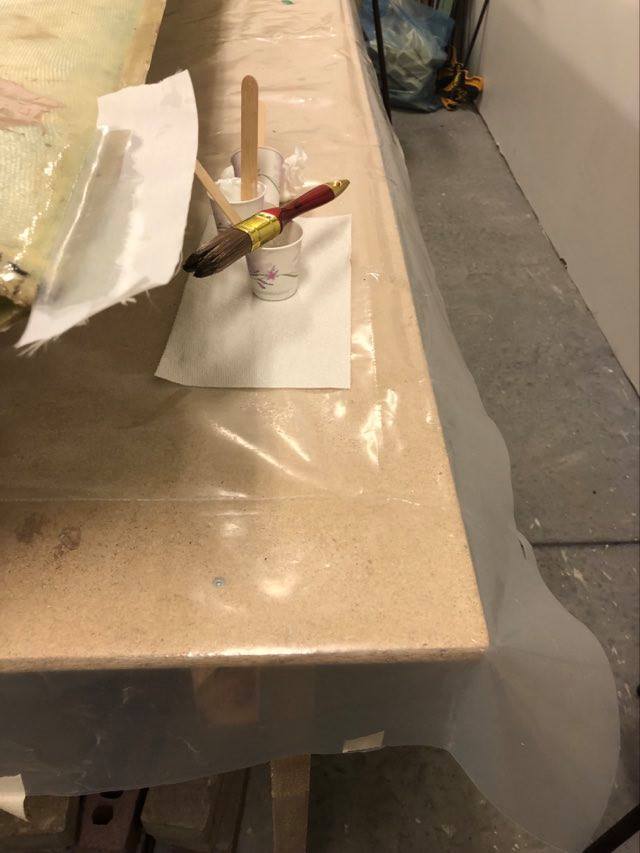
Micro was applied to the exposed foam on the winglet then covered with 2-ply of UND cloth and wet out with epoxy.
Flox was added to the low areas on the left wing trailing edge and one ply of BID was placed over the area.
Peel ply was added to both repairs.
Removed the peel ply from the winglet and wing TE repairs and sanded as needed.
Flipped the wing right side up again on the work table and installed the left rudder in the winglet and attached the centering spring.