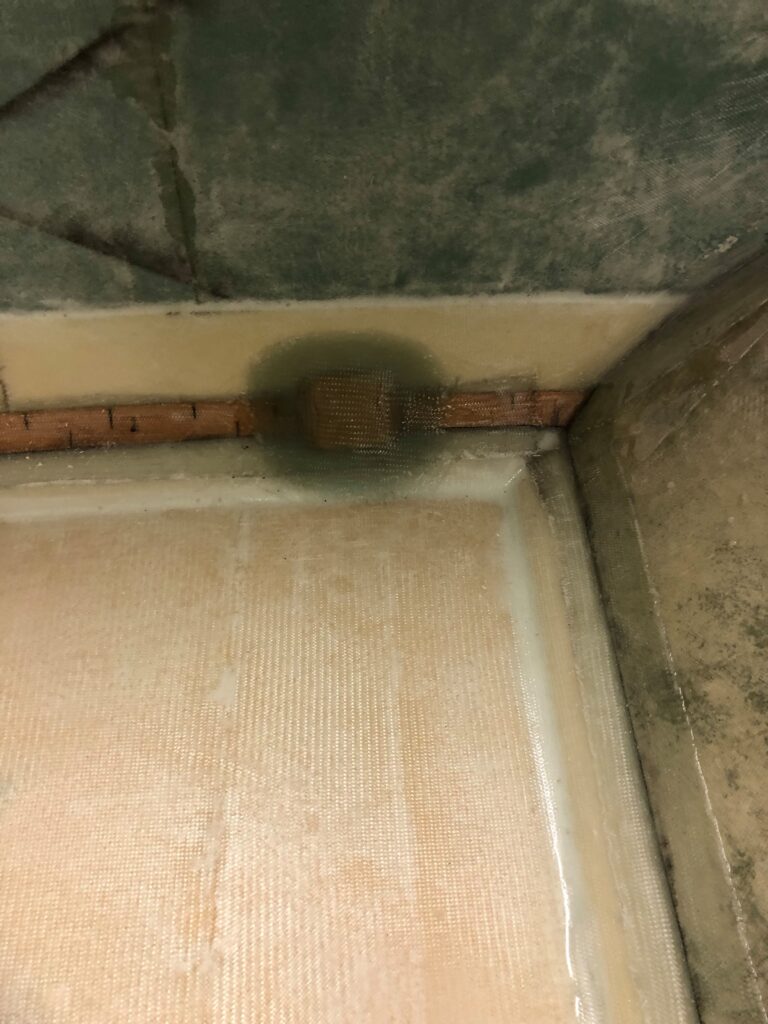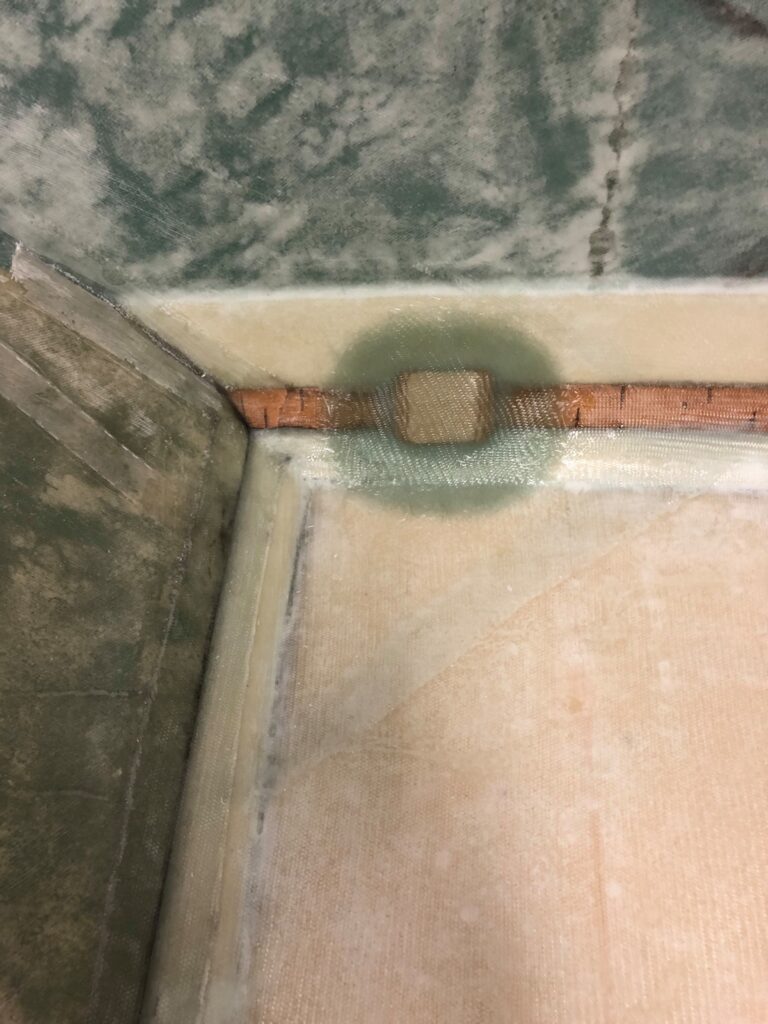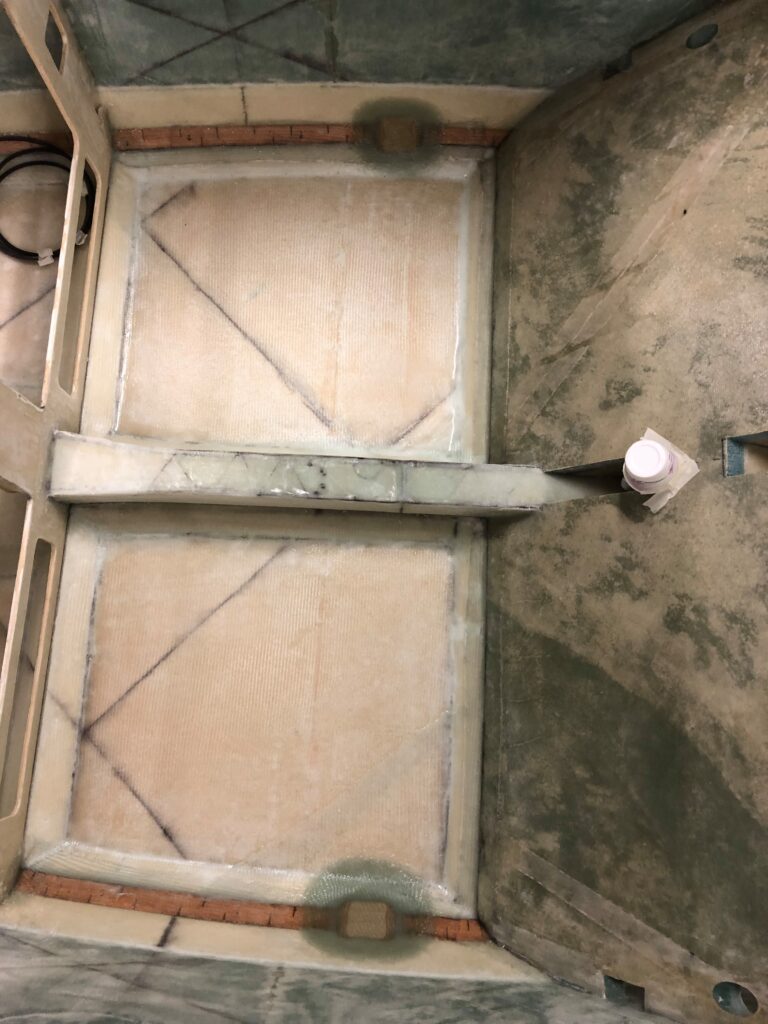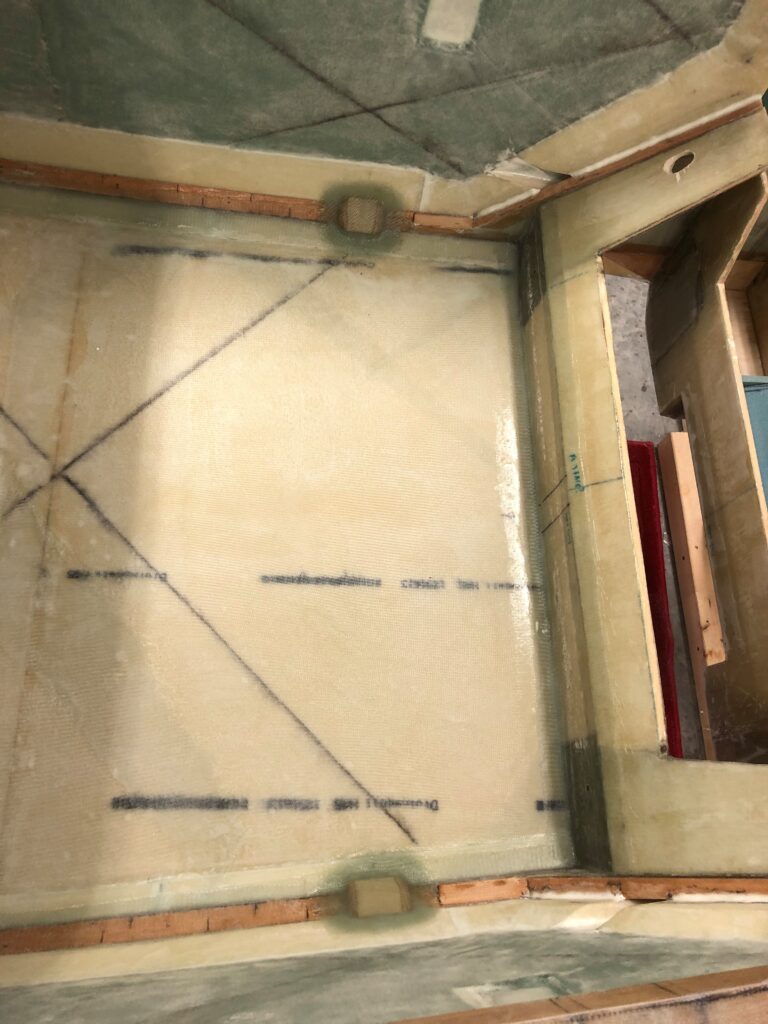

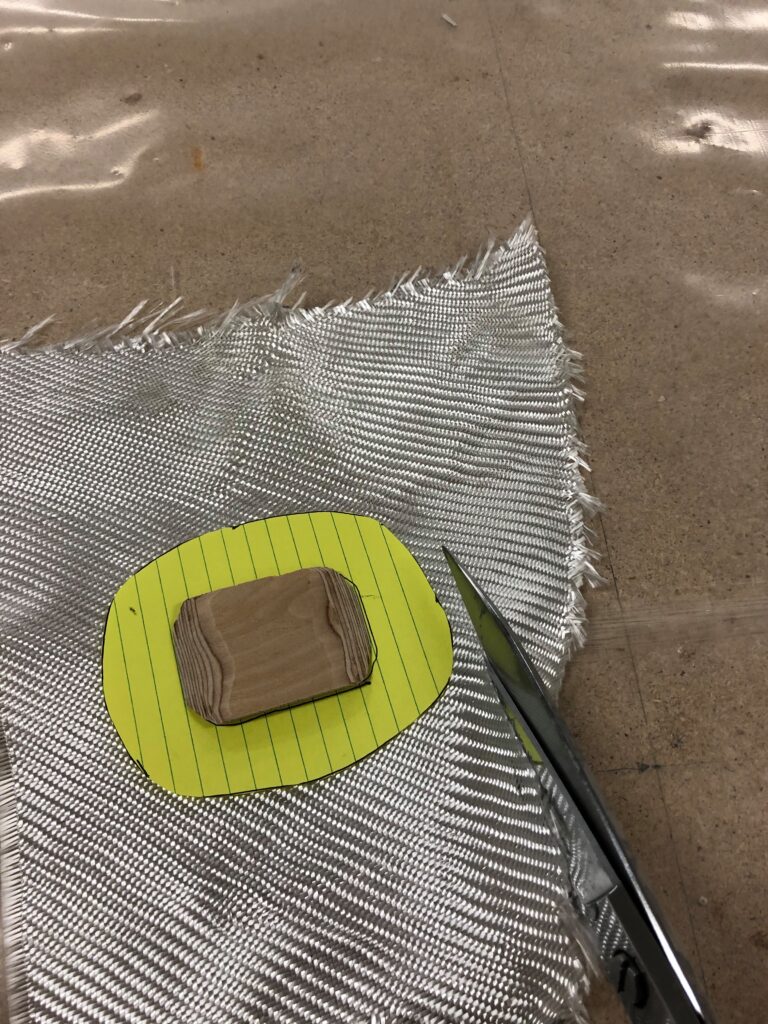
The areas where the birch plywood inserts are to be installed were sanded with 36 grit sandpaper.
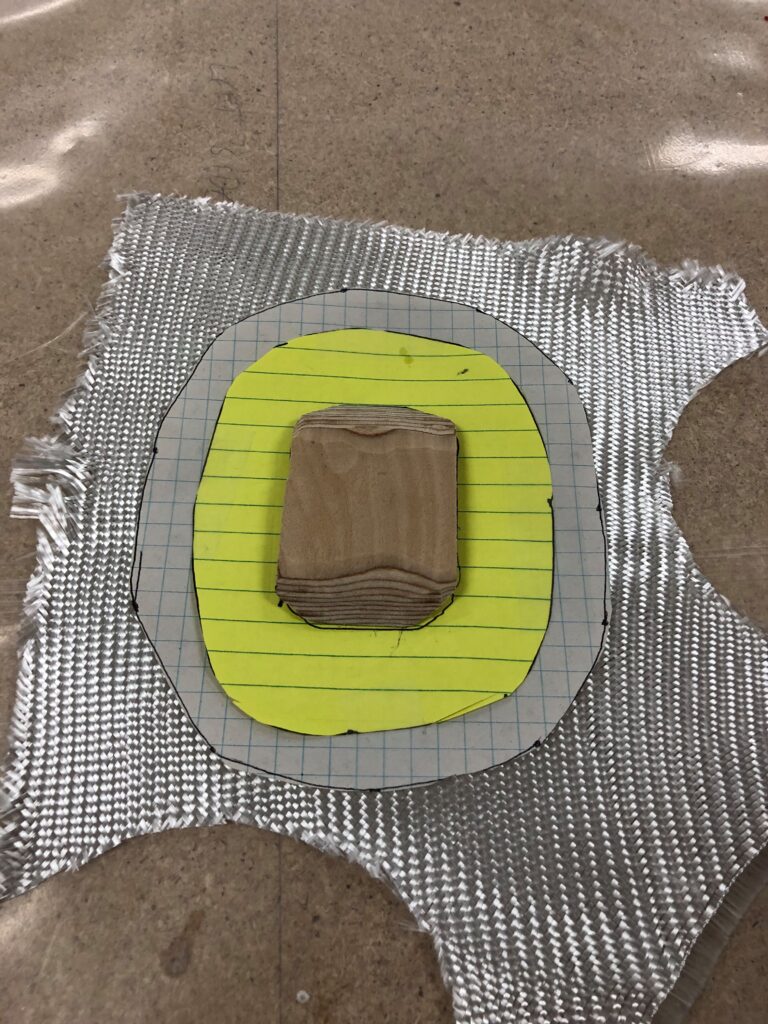
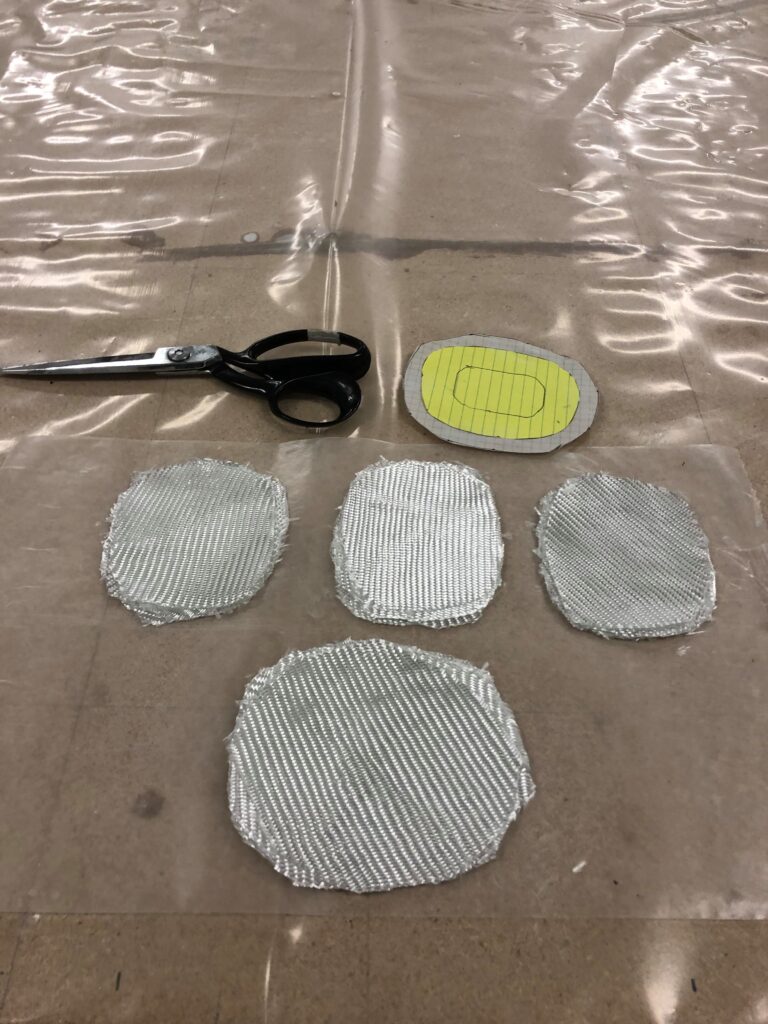
7-ply BID cloth was cut for each of the four inserts. A 1″ overlap was used except for the insert where the step will be attached. For this insert a 1.5″ overlap was used.
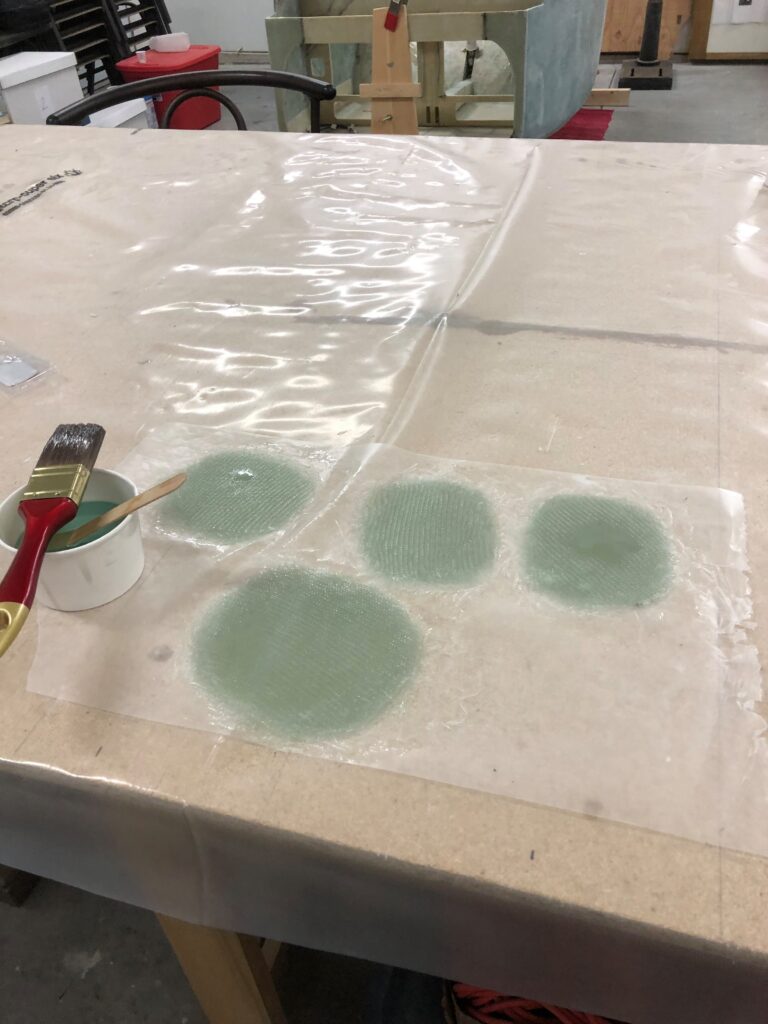
Workshop temperature was 24 deg C and humidity 38%. A batch of epoxy was mixed using 170g resin and 64g hardner.
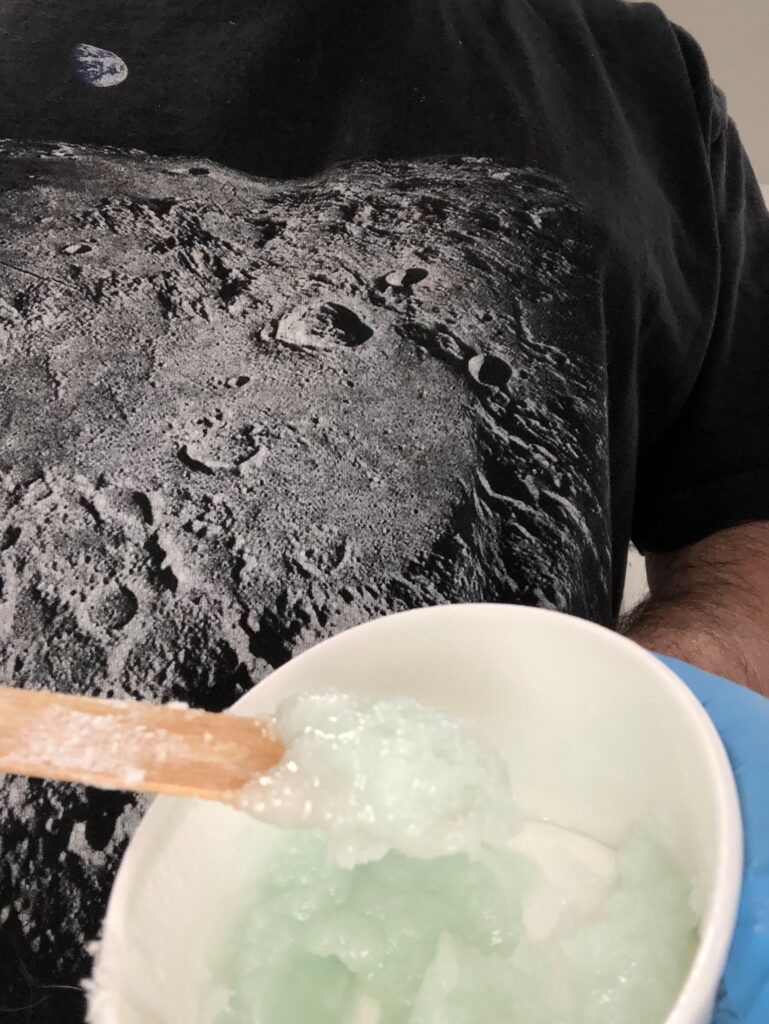
The four sets of ply were wet out with the epoxy then a small batch of wet flox was mixed.
The flox was applied to each of the plywood inserts and the inserts were positioned in place with flox filling any voids.
Lastly, each of the inserts were covered with the 7-ply layup.