
Two screws were placed at the bottom of the instrument panel into the jig. This way the panel can be removed from the jig, if needed, and returned to the exact location.
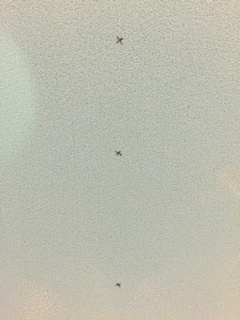
Three small holes were drilled through both fuselage sides such that nails can be placed through the holes to secure the instrument panel during cure.
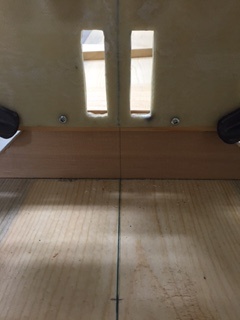
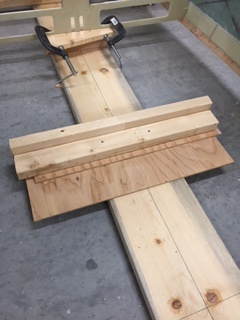
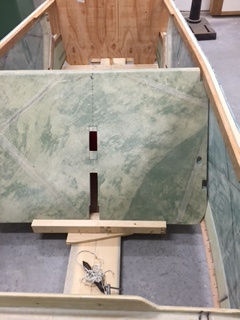
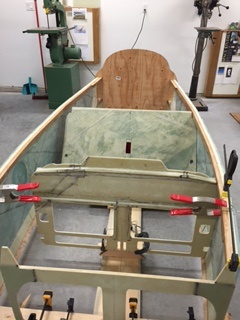
Some more boards were added to the jig at the 40″ aft (of F22) location to position the bottom of the front seatback at the right height and the right location. The top of the seatback was located at 60″ aft of front bulkhead F22.
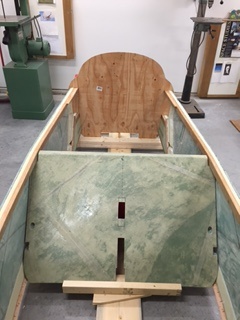
A lot of sanding was done to properly fit the seatback to the right fuselage side.
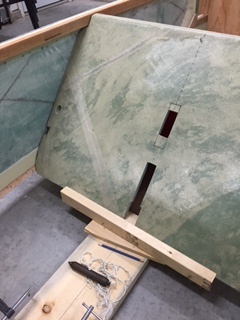
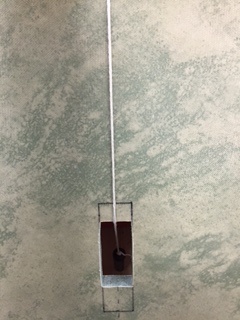
A plumb bob was used to centre the front seatback such that the centerline of the seatback aligned with the centerline of the fuselage (as indicated on the 10′ plank making up the base of the jig).
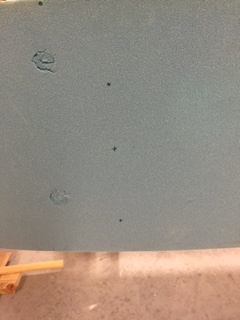
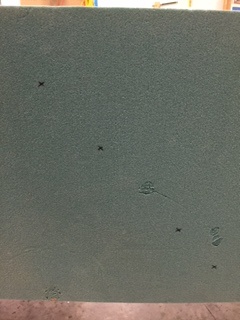
Once the right fuselage side and the front seatback were aligned then the positions were marked and 4 holes were drilled in the right fuselage side to secure the seatback in place with nails during cure.
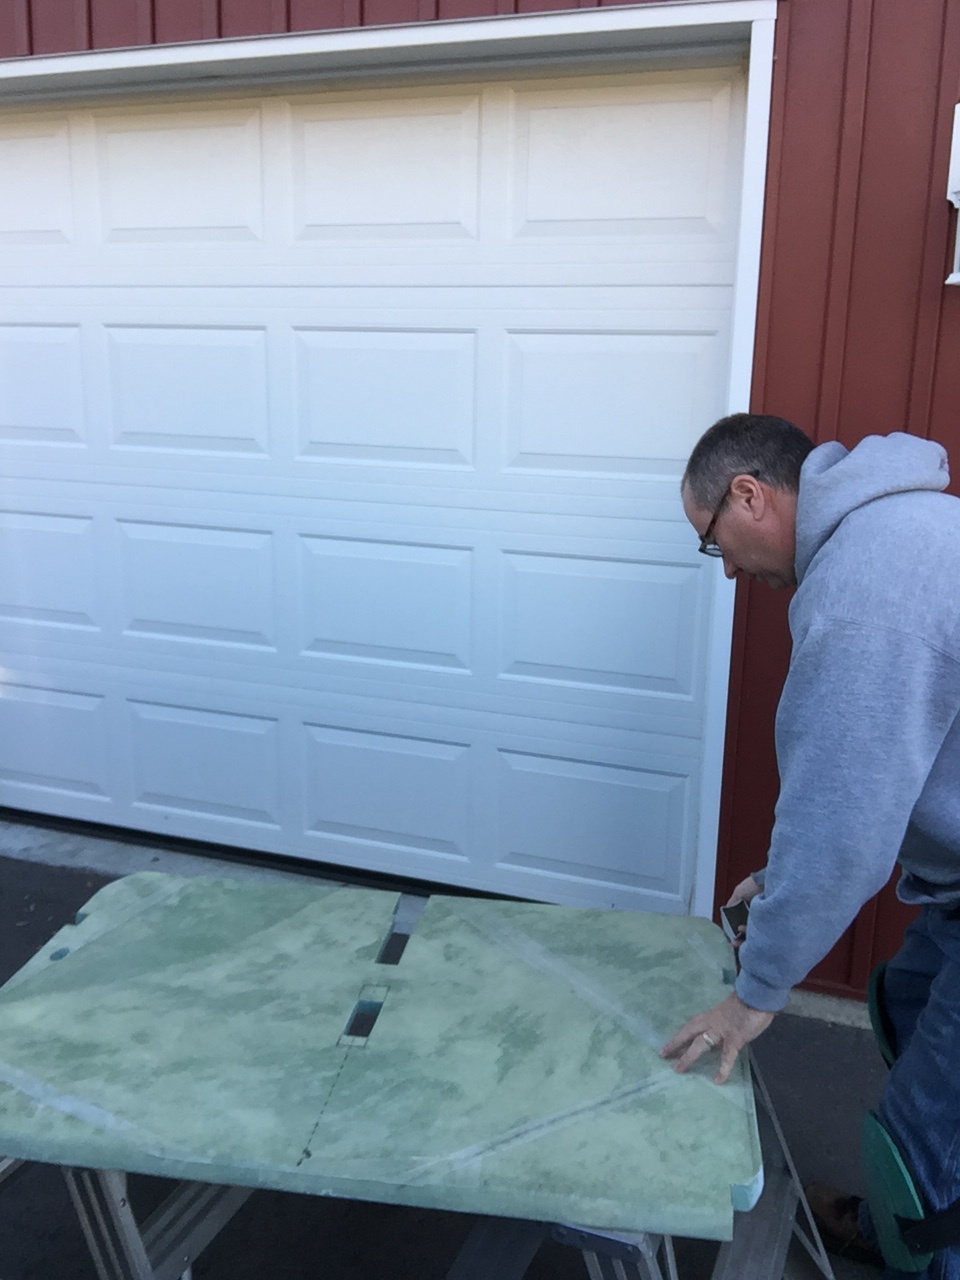
Next fitting/sanding was started with the seatback and the left fuselage side.
Still more sanding to do on the left side next session.