
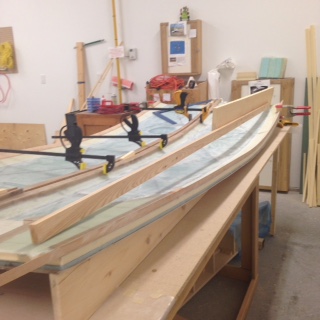
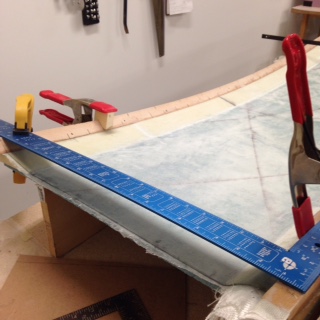
I placed both fuselage sides back in the forms, parallel to each other and spaced equa distance apart with the front ends overhanging the forms by about 0.25″. I placed spacers of equal width between the fuselage sides and used clamps to hold both sides stationary and together.
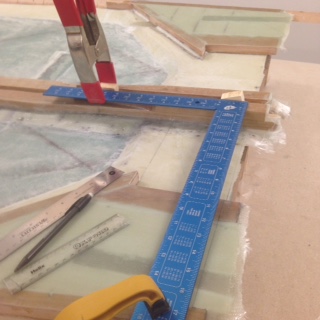
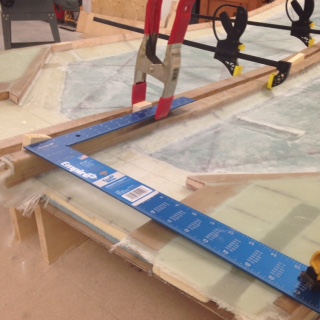
I first marked off the 8.5″ x5.5″ area on the aft end of the right fuselage side and then used that area as a datum. Using a carpenter square, I drew a trim line at the aft end perpendicular to the top longeron. I repeated this for the aft end of the left side.
Squaring up the aft end of the right fuselage side.
Squaring up the aft end of the left fuselage side.
I constructed a 101.75 inch measuring stick to ensure the proper length of the fuselage sides.
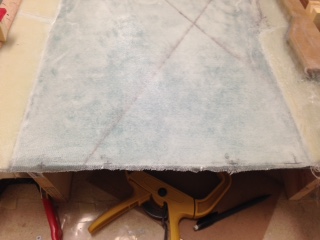
I then marked off reference points along my aft trim lines 3″, 6″, 12″ and 15″ from the top longeron. I did the same at the front end of both fuselage sides.
Then using the 101.75″ measurement stick, I aligned the stick at each of the front/back reference points and using the rear trim line as my datum, I then marked off the 101.75″ locations at the front. Using the carpenter square I created the front trim line, ensuring it was perpendicular to the top longerons.
Squaring up the front left fuselage side.
Squared up the front of the right fuselage side.
An independent quality check of all measurements will be the next step before the sides are trimmed to length.