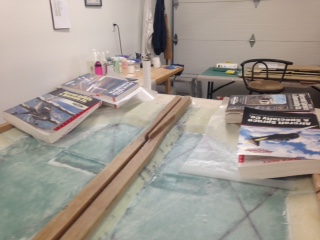
Four hours in the shop today doing the final glassing to the inside of both fuselage sides.
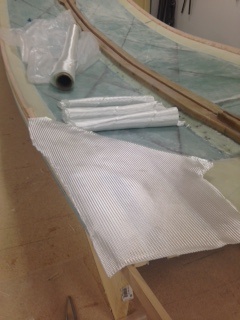
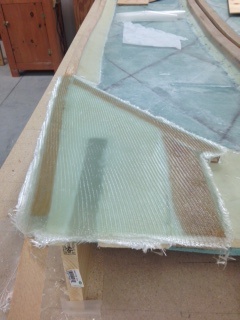
12 plies of BID cloth were cut at 45 deg to fit over the areas outlined by stringers LWX & LWY and the lower longerons. Dacron was cut as well as wax paper to be used to cover the 6 ply layups.
The temperature in the workshop was 25 deg C and the humidity 40%.
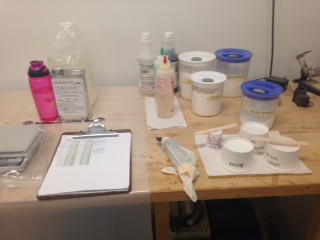
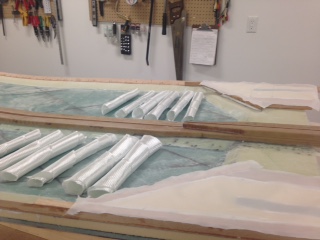
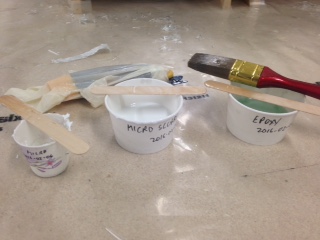
46g of resin and 17.5g hardner was mixed with glass bubbles to make micro slurry. Some of the slurry was poured into a smaller cup and more glass bubbles were added to the smaller cup to make dry micro.
Dry micro was applied to any crevices/low areas in the foam to ensure a flat surface. Wet slurry was applied to the foam.
118g resin and 45 g hardner were mixed to make epoxy. Epoxy was applied to the stringers and longeron that were next covered by the first layer of BID cloth.
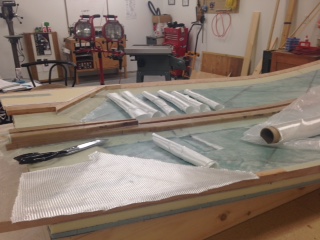
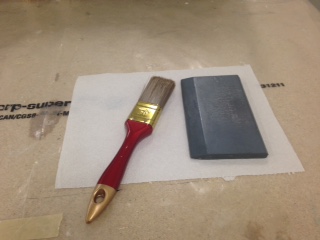
6 layers of BID cloth and epoxy were applied to both fuselage sides. Excess cloth was cut (trimmed) using the electric scissors after applying each layer. A squeegee was used to apply the epoxy and a paint brush was used to stipple epoxy into any dry spots for each layer. A second container of epoxy was mixed with the same ratios as above to complete the layup.
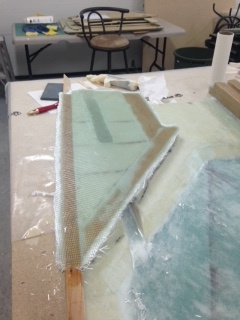
Dacron (peel ply) was applied on top of the 6 layers of BID cloth on both fuselage sides. The dacron was applied using epoxy.
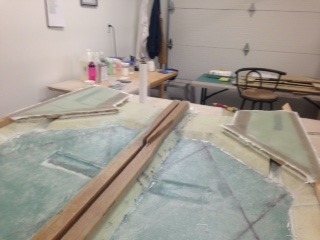
Wax paper was placed over the peel ply and weight added. Both layups were left to cure at 23 deg C.